Understanding Oven Hot Spots and How to Bake Around Them
Russell Comeaux - Mar 30, 2025 - 13 min read
Understanding yeast is elementary for anybody who loves baking. Yeast is an incredible organism which turns simple ingredients into palatable treats. In this blog, we are going to explore the art of using yeast; we will try to simplify the process for everyone's understanding. Let's dive into the world of yeast and discover how it brings your baking game to a new level.
There are various types of yeast, each with different properties and uses in baking. The most common type is active dry yeast, which needs to be dissolved in water before use. It is convenient and has a long shelf life, which makes it the favorite among home bakers. Instant yeast can be mixed into the dry ingredients directly; this saves one step, and it is often preferred for quick activation and results.
There is also fresh yeast that hardly ever appears in the home kitchen but is often in bakeries. Fresh yeast has a slightly different flavor, and some prefer it because of the great rise. Understanding these will help you choose the right type for recipes. For instance, if you are baking that luxurious brioche, fresh yeast might give you more complex flavors. For everyday bread, instant yeast is your best bet.
Experimenting with different types of yeasts can unlock new avenues to you in your baking quest. All have weird, wonderful characteristics and advantages which make them worth a trial. You may come across a particular type that has a great affinity with your styles of baking and favorite recipes.
Essentially, it is a living organism that ferments sugars to produce carbon dioxide and alcohol-very much the reason why bread is fluffy and tastes so good. When you mix yeast with flour and water, it starts feeding on the sugars available, producing bubbles of gas. The dough now contains these bubbles that get trapped to produce a certain inflated look and that chewy structure we all love.
The fermentation process also brings out the flavor of bread. As yeast consumes sugars in the dough, it frees many compounds that contribute to the flavor of the end product. That is why homemade breads are so good compared to those bought in stores. Let your dough ferment for longer periods so you can build deeper flavors for your bread.
Knowing the science of yeast will make you appreciate what it does in baking. Instead of just following a recipe, you'll begin to see how every step plays a role in the final outcome. That gives you the power to make changes and improvements that will result in better baking.
Yeast must always be stored properly to maintain potency. Active dry and instant yeast must therefore be stored in a cool, dry environment such as a pantry. Ideally, once opened, an airtight container or plastic bag should be prepared to store it in the refrigerator. This way, a lot of time will pass before it becomes ineffective again when you need to start baking.
Fresh yeast can only be stored for about two weeks and has to be kept in the fridge. It will keep as long as it is maintained within the refrigerator. One may try to check if the yeast is still good by crumbing a small portion in some warm water with sugar dissolved into it. If within several minutes, it forms some bubbles and froth then it is good, else it is time to procure fresh yeast.
Taking care of your yeast means you will always get tasty outputs from your baking. Proper attention to detail is all that separates a baking mishap from a success.
Levitation, or activation, of the yeast is one of the most crucial steps in making any baked good. Using active dry yeast, to activate it, you just need to dissolve it with warm water, preferably from 100°F to 110°F. If the water is too hot, it will kill the yeast, and if the water is too cool, the yeast will not activate itself. Add a pinch of sugar to give something for the yeast to feed on as it wakes up. You should see the formation of bubbles within about 5 to 10 minutes, showing that the yeast is active and ready for use.
With instant yeast, it's even easier as you can add it directly into the dry ingredients. It's also often more forgiving when it comes to type. However, if using a specific recipe or desire a deeper flavor, this may still be dissolved in warm water first.
Getting the activation right sets down the foundation for successful baking. This is just a little step but has a very big difference when you see how well your dough rises and that way you get a lighter and fluffier loaf. Never miss this critical stage since it's the starting point of your yeast journey.
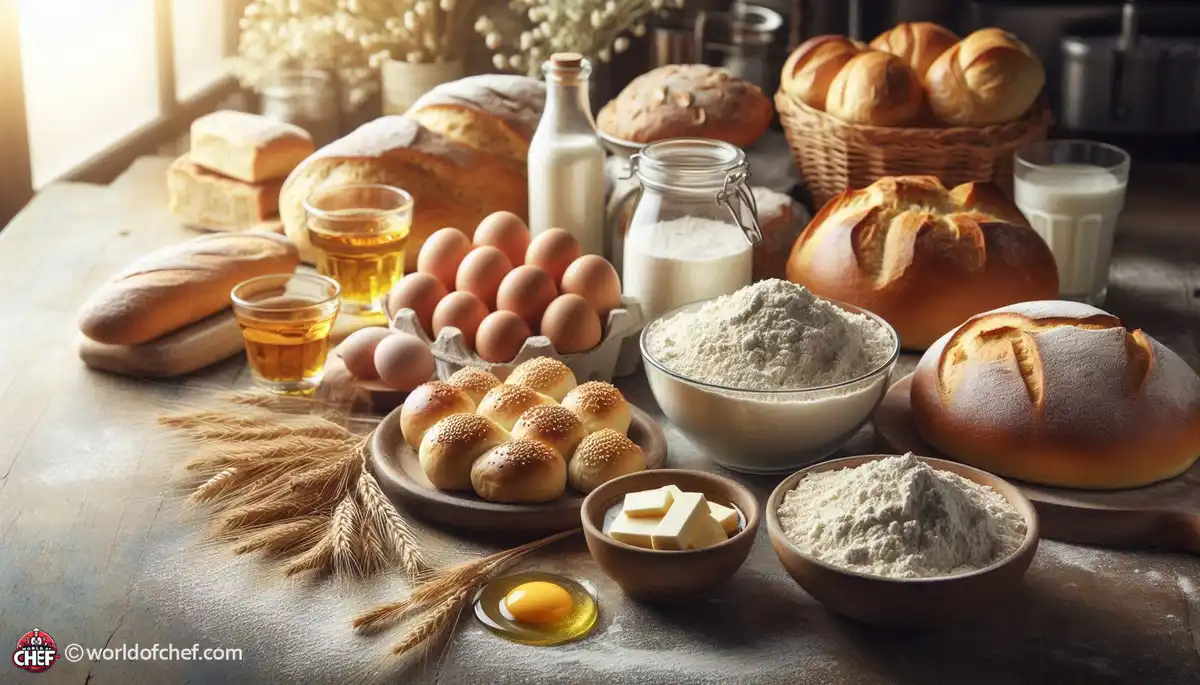
Once you have activated your yeast, you should mix your dough. Start by mixing your activated yeast with other ingredients such as flour, water, salt, and sugar. The way in which you mix these ingredients can differ with the dough development. For instance, salt should be mixed with yeast separately since salt inhibits yeast activity.
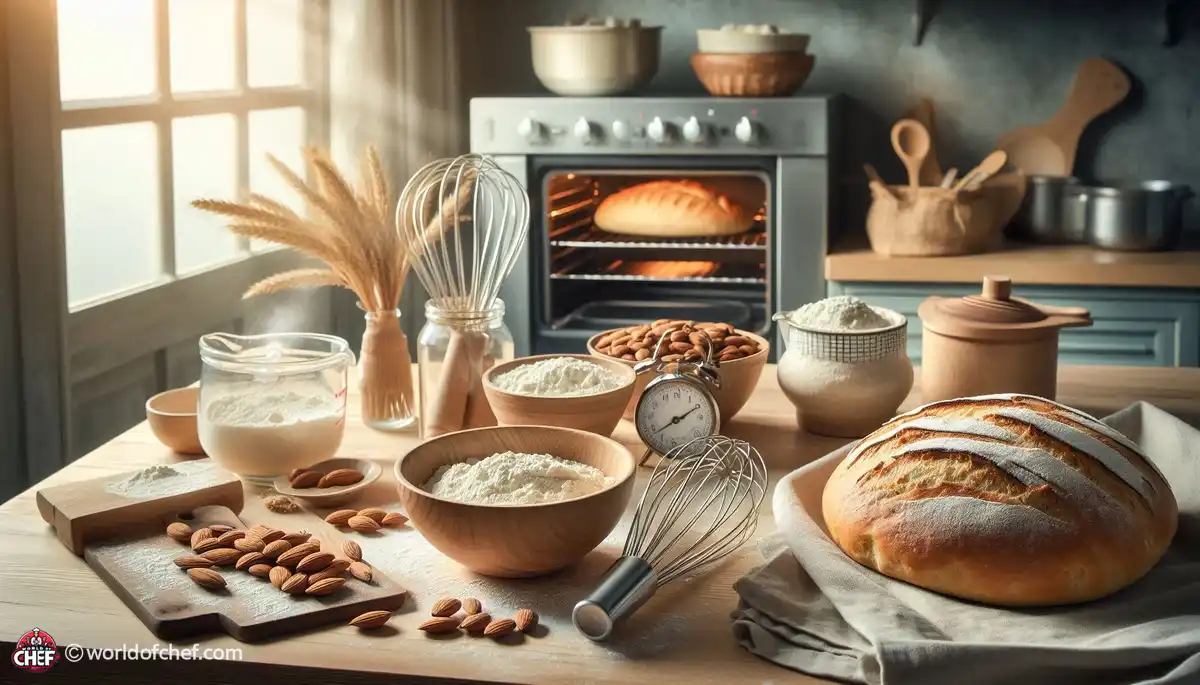
The last step is kneading the dough. Kneading will create gluten, which structures bread. This can be done by hand or using a stand mixer with a dough hook. You want a smooth elastic consistency. This should happen after about 8 to 10 minutes of hand kneading or around 5 minutes when using a mixer. If the dough becomes too sticky, add a little more flour, but not too much, for that may make the bread quite dense.
Remember that dough is very forgiving. If it becomes too dry, add a splash of water; if too wet, dust with a bit of flour. This will have you listening to your dough and adjusting to get just the right consistency, giving you a great shot.
Kneading is much more than an arm exercise. In fact, it's an important stage of developing the texture of bread. As you knead, you are arranging your gluten strands and creating a structure that will hold the gas the yeast will produce in its rise, so that the loaf is lighter.
Don't be discouraged if kneading seems daunting at first. It's something you get the feel for with practice, and you will learn just how it should look and feel as it transforms from a shaggy mass into a smooth, elastic ball. Pay attention to how the dough changes as you work with it: that's invaluable tactile feedback.
If you are short of time, you can stretch and fold the dough that will have less active kneading but still develop gluten structure. This method could be really effective for a high hydration dough, and when done correctly, it's possible to get a super airy loaf with minimal effort involved.
The first rise, or bulk fermentation, contributes a lot to developing the flavors and textures. Mix and knead, place the dough in a lightly oiled bowl, cover with a damp cloth, and keep it in a warm place. In this process, sugars will be eaten up by the yeast; these release carbon dioxide bubbles into the dough, thus letting it rise.
This stage should take about an hour to two hours, though this will vary with the temperature and humidity in your kitchen. A general guide is to let the dough double. If your kitchen is cooler, then you'll need more time. Be patient here; forcing the rising process will result in denser bread.
You will also note a great aroma as the dough rises. This is the yeast doing its job, producing the complex flavors that will add up to a great final product. If you allow sufficient time for this fermentation, you set the stage for a wonderful loaf.
Punch it down. It can be counterintuitive when working with dough, especially since you've allowed it to rise. You have to deflate it a bit so it will redistribute the yeast as well as the gas bubbles into a more even crumb structure. You punch it down with your fist letting the air out slowly by doing so.
Once you punch down, you can shape the dough into loaves or rolls. It's also time to add any extra ingredients that you might have, such as herbs or cheese, depending on your recipe. Again, here you should not overwork the dough; you want to maintain some air pockets for the second rise.
Punch down is one of those critical steps that will change the texture of your loaf of bread for the better as you distribute gases evenly that can ensure even rise of your dough in the process of second fermentation, culminating in an airy but lovely loaf.
The final rise, sometimes known as proofing, occurs again at the end of shaping. This is a final, shorter rise that commonly lasts from 30 to 60 minutes. Covering the shaped dough does not dry it out; it is allowed to relax and rise just enough to bake.
At this point, yeast starts working, which creates even more gases and flavor in bread. It cannot be bypassed because the texture will determine the final bread produced. You can check the dough by pressing your finger into it lightly; it should spring back slowly for it to bake.
Proofing, of course, is very important in baking. Dough will never be as fluffy and light if hurried and not allowed enough time, so give it as long as it needs, paying attention to your intuition, which may tell you otherwise.
Preheat your oven to the temperature as stated in your recipe right before baking. This will ensure you have the crust and texture just right, which requires a hot oven and the production of steam when it's at the initial stages of baking and the dough is still expanding.
Consider putting a pan of water in the oven as it preheats. Water will steam, which helps with a better rise and crust. However, be careful because too much steam is soggy bread; find your balance based on your recipe and preferences.
Once your oven is hot and your dough is ready, it's time to bake. Make sure your oven thermometer is accurate. You do not want an oven that is too hot or too cool, or your results will be disappointing. Getting this step right sets the stage for your bread to shine.
Baking bread is an art and a science. Techniques used can dramatically affect the outcome. Scoring the dough before baking allows it to expand properly and creates an attractive pattern on the crust. Use a sharp knife or a bread lame for clean cuts, which helps control the direction of the rise.
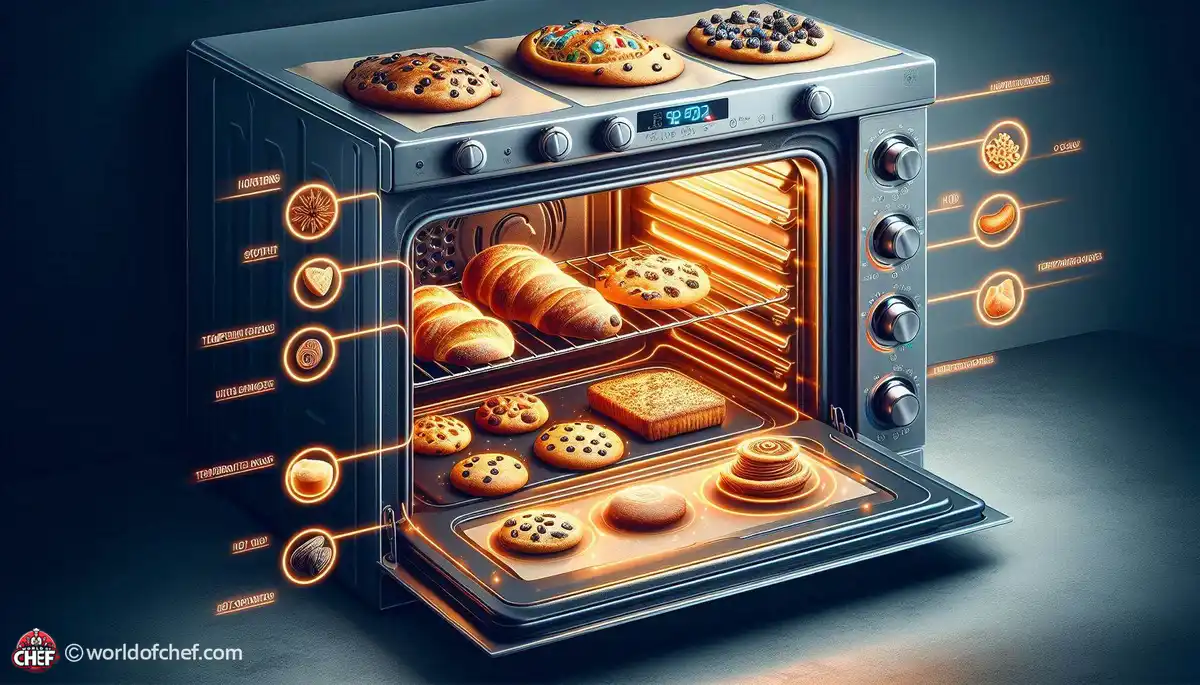
Rotate the bread halfway through the time of baking. This ensures even cooking because lots of home ovens have hot spots. Spacing out multiple loaves if you're baking a few also encourages even baking. You want each loaf to get its fair share of that glorious oven heat.
Use an instant-read thermometer so you will know to check on the bread for doneness. Most of these kinds of bread have got perfectly baked when it gets inside up to 190°-210°F for whatever bread type. You would surely come out with a perfect slice out of it because that was all about not letting your bread become overdone or else; they are done all right. Cooling and Storage for Your Bread
Let it cool on a wire rack for at least an hour before slicing into the freshly baked bread. It prevents tearing the loaf if sliced during the cooling time as well as allows crumb setting to ensure that the slicing goes in very smoothly. At this time, the bread's flavors continue to unfold so there will be a full expression of its flavor potential.
Store in a covered kitchen towel or a paper bag immediately from the oven if only just baked, for crusting to remain in good shape as long as possible. Then slice and freeze, whereupon you can toast whatever slices you need at a later time, thereby providing your family with fresh bread on demand.
Proper cooling and storage hugely affect the shelf life and the taste of your bread. Through these simple steps, you ensure that all your effort put into your loaf comes to fruition long after the baking day is done and you can enjoy it at its best.
No matter how good you might be, the yeast doesn't always seem to co-operate sometimes. Here is one example: not a rise for dough. Sometimes, that happens and may have some reasons to it-the yeast expired, maybe the temperature of the water was wrong, or the dough was beaten for too long. Just observing these hints is step number one.
Another issue could be a too dense loaf. You probably over-proofed your bread, or you used not enough yeast, so let that dough rise for the proper time and let that yeast do its job. Maybe you need to adjust how you do things, or maybe you just got some old yeast.
Documentation of your baking process is helpful. The notes you take on what works and what doesn't can help you track patterns and adapt your methods over time. Baking is a journey, and learning from mistakes is part of mastering the art of yeast.
Baking is not like one-sized fits all. Humidity and temperature can make a difference in how yeast behaves. You may need to change your flour measurement in humid climates because the moisture that's present there can affect the consistency of dough. In dry climates, you may need to add some water to get to the right hydration.
Yet another critical parameter affecting the action of the yeast is temperature. A warm place accelerates fermentation; a cold environment decelerates it. If your dough has the tendency to rise too quickly, you might need to move it to a cooler area in your kitchen. If it rises too slow, you should move it to a warm place.
Knowing these environmental factors will greatly improve your baking success. Having your methods adjusted to fit these conditions will better equip you to handle whatever comes along.
Every baking process is full of mistakes, and yeast baking is no exception. Perhaps your dough did not rise, or your loaf was too dense. Do not get frustrated with such moments. Take these as learning opportunities. Every mistake can teach you something new about yeast and the baking process.
Consider what might have gone wrong and how you can do it better next time. Was the yeast fresh? Were you giving enough time to rise? Note your observations and improvements that will shape your technique over time. Nobody is perfect; even bakers who bake the most perfect bread ever have failures.
Learn and rejoice in little victories. With each loaf that you bake, you'll be more confident and expertise. In time, you will master the art of yeast, making your kitchen a haven for delicious baked goods.
To enhance one's skills in using yeast, try sourdough baking. Sourdough employs wild yeast and lactic acid bacteria that find themselves growing on the surroundings; this brings a peculiar taste profile and texture. Compared to using commercial yeast, this process is more intricate; however, the returns make it worth the process.
First, you need to create a sourdough starter, which is essentially cultivating wild yeast from your environment. This process takes several days and requires feeding and care at regular intervals. However, once it is established, a sourdough starter can be maintained indefinitely and used repeatedly for bread flavoring.
Baking sourdough also teaches you more about fermentation. You will know how to identify a healthy starter and understand how several factors influence its activity. This knowledge can really boost your overall baking skills, as you can create truly unique and delicious loaves.
Although it is largely known to associate with bread, the use of yeast is numerous. You can add it to many recipes, ranging from pastry dough and Pizza Dough to savory dishes as well. The addition of yeast will contribute to depth and texture in the variety of culinary creations.
Try making yeast pastries-bake brioche or cinnamon rolls-these are lovely for being light and airy. And then, of course, you can always use yeast to improve that chuggy crust of pizza dough. No limits exist on what a person might try, and that's all part of the excitement about baking.
Don't be afraid to be creative! Yeast experimentation in different recipes can be pretty fun. Every new dish offers an opportunity to learn more about this incredible ingredient and how it can enhance your cooking.
Another advanced technique used in making bread is called the autolyse method where flour and water are mixed together and rested for a while before yeast and salt are added. It allows one to let the flour hydrate completely before kneading develops its gluten, thus making for a more flavorful and texturally superior loaf.
Others worth trying include using preferments, such as biga or poolish: a mix of flour, water, and a tiny amount of yeast allowed to ferment before being incorporated into the final dough. They help create flavor and can improve the way the dough is handled.
Mastering these techniques takes baking to a new level. As you continue practicing and showing patience, you'll develop more skill and confidence with your yeast baking.
Baking with yeast is an incredibly rewarding activity because there's always something in the oven. There are the intoxicating aromas of freshly baked bread and the satisfaction of slicing through a perfectly risen loaf, but also joy and discovery fill the journey from the beginning to the end in that each time you bake, you are not merely creating food, but you are also creating memories.
Accept the challenges and have fun with the successes. Each loaf you bake teaches you something new about yeast, flavor, and baking. Gradually, you will reach a point where you'll know how yeast works and how you can use it in your kitchen.
Whether you are an amateur or a professional baker, there is always more to discover. The yeast world is vast and endless; continue experimenting and learning. Your journey is exclusively yours, with tasty products and experiences that you'll acquire throughout the way.
Perhaps, along with your journey of yeast baking, you can share the adventures of others. Be it on social media, through a blog, or a class, sharing what you learn can inspire others to get started on their own baking journeys. This will not only help you retain the information but also build a community around fellow enthusiasts of baking.
Shared successes and discoveries over yeast baking are encouraged in exploring it by other people's support. Everyone has its own perspective and creativity in enlarging the community at large. In addition, joyful baking brings people closer as it creates memories that won't be forgotten.
Lastly, remember that the yeast exploration never really ends. The recipe, technique, or ingredient will always give you a way to learn and grow as a baker. Keep on experimenting and trying other things, whether it is a very complex sourdough or a simple pizza dough. End.
And so, collect that apron, roll up those sleeves, and then it's more adventure with yeast. The kitchen has been your playground and every loaf records your mastery of the days. Happy baking!
Russell Comeaux - Mar 30, 2025 - 13 min read

Alexis Larose - Mar 25, 2025 - 15 min read
Hailey Morrill - Mar 21, 2025 - 18 min read
Bobby McKelvey - Mar 18, 2025 - 12 min read