Understanding Oven Hot Spots and How to Bake Around Them
Russell Comeaux - Mar 30, 2025 - 13 min read
Making gluten-free bread at home can be a rewarding and delicious venture. If you have been looking for a way to enjoy fresh, homemade bread without gluten, then you are in the right place. This guide takes you through the entire process, from gathering your ingredients to baking that perfect loaf. Let's get started on your gluten-free baking journey!
What they call gluten is a protein found in wheat, barley, and rye. The presence of this in the system leads many people with celiac or gluten sensitivity to several awful symptoms ranging from severe digestive problems to weakness and fatigue. Before you follow this new lifestyle, you will learn why gluten has to be avoided. Knowing why gluten must be stayed away from comes knowing how to select right ingredients besides finding the proper recipe.
In making gluten-free bread, the first thing is to look at the replacement for wheat flour. Almond flour, coconut flour, rice flour, and a particular blend of flour for gluten-free baking can be used as direct replacements. All have unique properties, and by knowing how each type of flour behaves when mixed or baked, one can come up with a satisfying and tasty loaf.
Another crucial aspect is that you watch out for labeled products that are certified gluten-free. Chances of cross-contamination exist at the time of processing, so by doing this, you assure that your kitchen is indeed gluten-free. The second thing you can do to facilitate the gluten-free experience is to know where the sneaky sources of gluten hide within everyday products like sauces and seasonings.
Of course, any gluten-free bread-making foundation starts with the right choice of flours. A gluten-free flour often combines several types of flours to replicate the texture and flavor found in traditional bread. Rice flour is pretty common as a base for gluten-free flours; almond flour adds moisture, and contributes a nutty flavor, while coconut flour is wonderful, but absorbs much more water than other flours do.
Sorghum flour is also suitable for those who want to produce a bread with a touch of sweetness. Mixing tapioca or arrowroot with it creates a very air-light bread. Adding little chickpea flour on top can make your product more protein-rich while delivering a distinctive taste to bread.
When you experiment with various types of flours, maintain a notebook wherein to jot down your observations. Note in detail how the bread could rise, what texture you would get on baking, and more importantly, how it is going to taste. Over time, through these notes, you would fine-tune the recipe to achieve a loaf according to your choice.
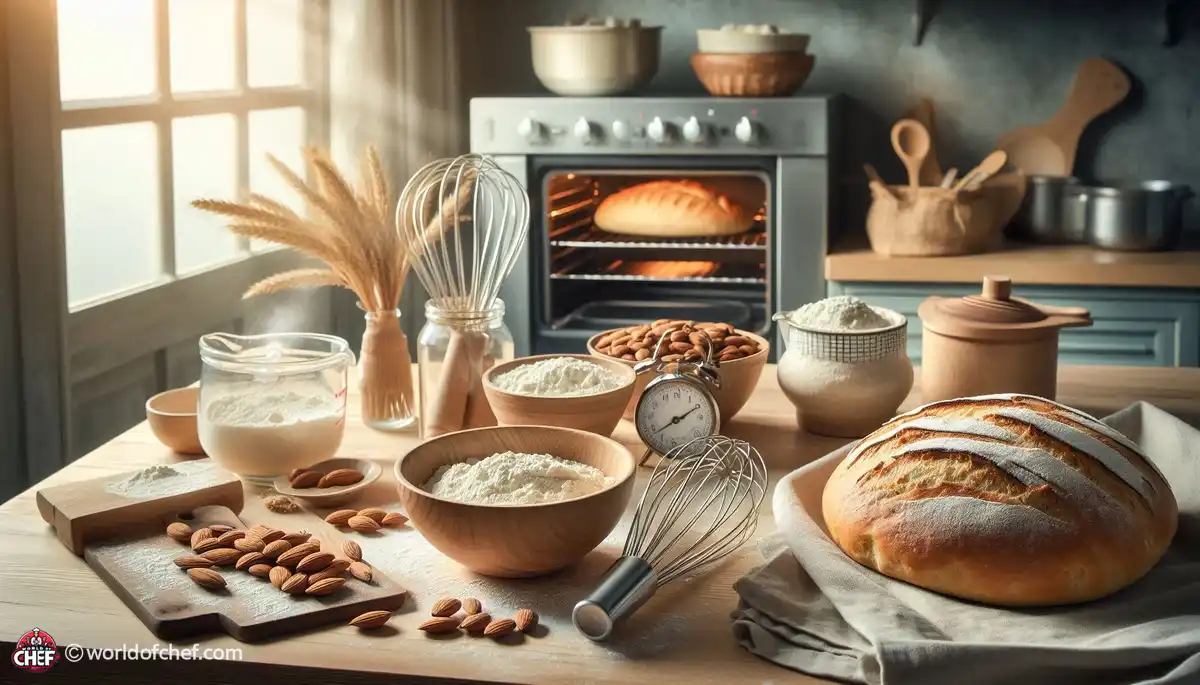
Before you begin this gluten-free bread-making business, gather all the equipment that you are going to use. Now, you don't need any special machinery or devices, but it sure is going to make all the procedure easier and enjoyable when using the right equipment. One of the important pieces of equipment you will need to have is a mixing bowl, measuring cups, and spoons. And as gluten-free dough behaves much differently than other dough, a rubber spatula becomes handy for mixing and scraping.
A stand mixer is really handy when mixing thicker doughs. You could do it using a hand mixer if you don't have one. Don't forget a reliable loaf pan. Non-stick or silicone pans would be even better, as it prevents sticking and the bread will come out easily. If you're a bit adventurous, there are some bread machines that are especially designed for gluten-free recipes that make the whole process even easier.
You will want to have an instant-read thermometer for taking the bread's internal temperature. Good, gluten-free bread is about 200°F in terms of internal temperature when properly baked. That way you can be certain that you never end up with undercooked, too dry bread.
For any cooking project, a clean and organized workspace is important, especially baking. Start by cleaning the countertops and ensuring that all of your tools are ready to go. Collect your ingredients and pre-measure them for a much smoother process. Everything within arm's reach will make your baking experience more enjoyable and efficient.
Take in mind that gluten-free flours create dust, so work on a surface covered by parchment paper or a silicone mat. This will facilitate easier cleanup and prevent loose flour from sticking to any of your surfaces. Never forget to have some extra dish towels around for cleaning up as you go along.
Lastly, ensure you have enough ventilation. Baking can easily warm up your kitchen, especially when preparing ingredients that need to be warmed up. Open a window or turn on the fan to keep air flowing. A comfortable and organized space will help you focus more on making that perfect loaf.
Now comes the fun part: mixing your ingredients to make the dough! First, add your gluten-free flour blend, and any dry add-ins you may wish to include, such as baking powder or salt. In sweet bread, it may be a good time to add a sweetener such as honey or maple syrup. It is very important to mix these dry ingredients thoroughly so that they all are evenly distributed. It's a critical step toward getting good bread texture.
This dough now requires you to add all your wet ingredients with this dough. For wet ingredients, you mainly add water, milk, or use either dairy, and even plant-based sources such as those of almond and other trees. You'll typically require eggs and maybe oil to give it moisture content since these are basic materials from which the majority of pastry dough is developed; though you can sometimes replace those eggs with either the equivalent amount of ground flaxseed mixed up in a small amount of water, and even applesauce works depending on the variety used to help bind but with most flavors and a much increased moisture content. Mixing wet and dry ingredients will help activate the baking powder needed for a proper rise.
Unlike traditional dough, kneading is not necessary for gluten-free bread. Just mix all the ingredients together until just combined to preserve the lightness and avoid overworking the dough. Once you have mixed the dough, let it rest for about 30 minutes. This resting time allows flours to absorb moisture so that it will rise when baked.
The gluten-free dough will not feel at all like the gluten-rich dough. It may well be thicker, more viscous, or maybe even sticky. If too dry, add a wee amount of liquid and repeat with one tablespoon at a time until it feels right. On the other hand, it is too wet; some flour is needed.
Remember that every flour absorbs differently. Your prior research into flour performance will all factor in here because the right consistency is pretty important to have that freshly baked, homemade bread consistency you're looking for.
This also reminds us that gluten-free dough does not rise as much as a normal dough would. Xanthan gum or psyllium husk added in can be useful for the structure of the dough and can even enhance its rising. So do not hesitate to use them since it makes all the difference.
Now you're ready to shape your loaf. Dust your work surface lightly with gluten-free flour to prevent sticking, turn your dough gently onto the surface being careful not to overwork it, and use your hands to shape it into a rough rectangle and fold it over itself twice, creating layers.
This folding technique is used to create a fair bit of structure, crucial to the good rise. With that folded, roll this dough into a loaf of any shape you want- this time a little tougher rolling, since you want to begin with a little tension to its surface. That'll give it the ability to maintain its shape as it rises and bakes but still don't over work that dough. You should see air pockets forming; end.
Now, feel free to top it up with any kind of fillings or toppings to your heart's content. Herbs, seeds, and cheese all add a different touch to this gluten-free bread. They just need to be dispersed evenly throughout the dough to ensure every single bite of bread is flavored appropriately.
Once you have shaped the loaf, it is a time to let it rise. Proofing is just what allows the yeast's magic to work and turns your loaf into a delicate and fluffy texture. This requires placing your shaped dough in a warm, draft-free area, covered with a damp cloth. It then retains moisture and warmth essential for the yeast to act.
Depending on the recipe and environment, proofing times will vary. In general, gluten-free dough proofs quicker than the traditional counterpart. Monitor it; the ideal is to have it double its size. As a rule of thumb, you can test it by gently poking it with a finger. If the impression won't go away, then it is ready for baking.
Once your dough has risen to perfection, preheat the oven. A hot oven is important for a great rise in the first minutes of baking. If you have a baking stone or a cast iron skillet, place it in the oven as it preheats. This will help your bread develop a beautiful crust.
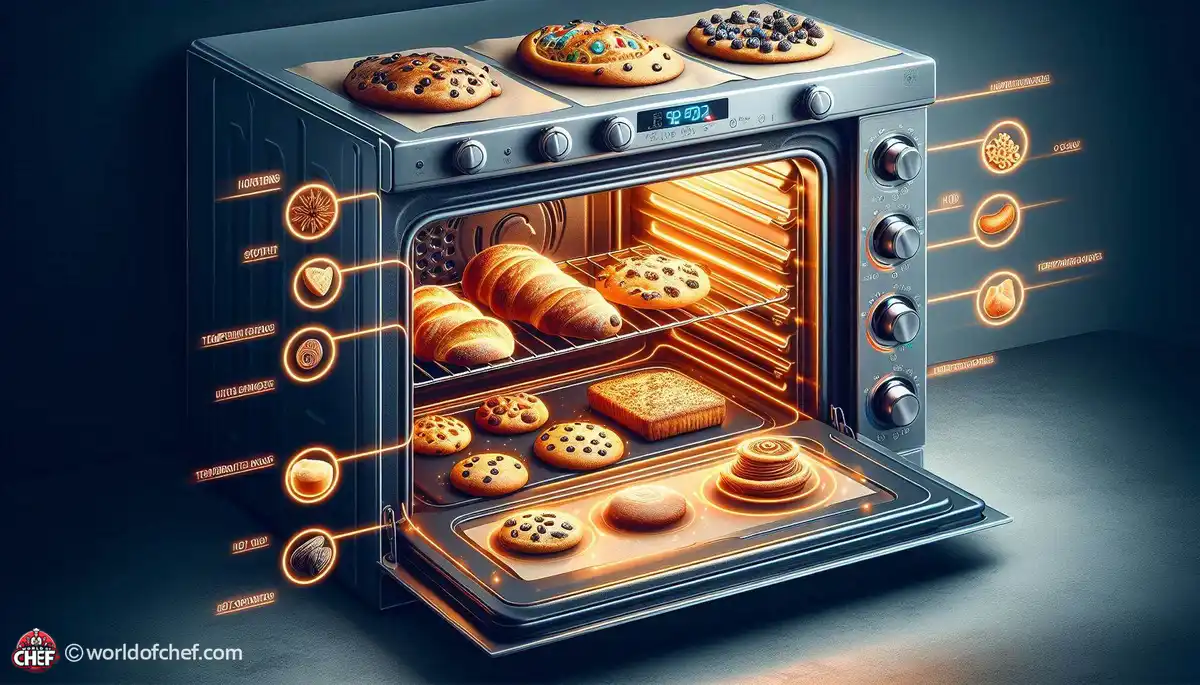
The process of baking gluten-free bread is a bit different than regular bread, so knowing your oven a little better can help. Heat the oven to the temperature given in your recipe, generally about 350°F to 375°F. Place a baking stone or cast iron skillet on the middle rack for the heat to spread out.
If you like the crust on your bread crusty, you may add steam inside the oven. To do this, put a pan of hot water at the bottom of the rack. That extra moisture really helps develop a great crust and ensures that the bread doesn't dry out too fast. Remove the pan after 15 minutes of baking so that the crust browns.
You also want to keep a close eye on your bread in the oven. Gluten-free bread goes from perfect to overdone quickly. Using an instant-read thermometer can really help you out; after all, you're trying for around 200°F for internal temperature.
When the bread is well baked, remove it from the oven and cool it in the pan for about 10-15 minutes. The cooling sets the structure and makes it easier to take out of the pan without breaking into parts. After some cooling, put it on a wire rack to cool completely.
It must cool completely to get the best texture and flavor of bread. Tearing into warm bread is very tempting, but it will probably yield to a gummy texture. Cool it for at least an hour before slicing. It can be eaten fresh after cooling or put away for later use.
Freeze it if you will store it for over two or three days. Slice into it, cover it in plastic wrap, then place the slice in an airtight container or freezer bag. In that way, when you need to grab one, just pick one up from the freezer.
Now that you have your gluten-free bread, it is time to enjoy it! The versatility of this loaf means you can use it for breakfast by toasting it, making tasty sandwiches for lunch, or serving it with soup for dinner. It can also be topped with avocado, nut butter, or homemade spreads for a healthy snack.
For those who have a sweet tooth, the gluten-free bread can quickly be turned into French toast or bread pudding. It's easy: simply dip the slices in a mixture of eggs, milk, and cinnamon, then cook it on a skillet for a delectable breakfast treat. The options are virtually endless, so let your creativity flow.
For bread leftovers, you can either make breadcrumbs or croutons. Dry the bread in the oven and either blend or chop it as desired. This is not a waste but rather helps prepare a tasty topping for a salad or casserole.
Proper storage is the key to keeping your gluten-free bread fresh. If you plan to consume it within days, store it in an airtight container at room temperature. It prevents the drying effect. Gluten-free bread, however, will not last as long as regular bread, so enjoy it soon.
Freeze your bread to store it good for longer. But remember you could slice beforehand for convenient extraction of just what you need. Just take out a slice and toast from the freezer or let it thaw for a few minutes on the countertop and it's ready.
Always date your containers so you can track how long it has been stored. This will help you to enjoy your bread at its best, maximizing both flavor and texture.
Sometimes, gluten-free bread baking poses some unique challenges. For instance, dough may not rise properly; this is because of expired yeast or perhaps inadequate proofing conditions. Always ensure that your yeast is fresh and that your environment is warm enough to encourage rising.
If it is too dry, a bit more liquid is called for the next time around. If it is too wet, then perhaps try using a different flour mix, or a little less liquid. Keep in mind that it may take a few trials to get it to just right for you.
Another common problem is the dense texture. It might happen if the dough has been overmixed or didn't have enough time to proof. Always follow the instructions on mixing and proofing times. Don't give up hope; every try becomes a learning experience.
Sometimes, even the best preparation may not guarantee success. If your bread browns too quickly, cover it with aluminum foil during the last part of the baking process. It will protect the crust and allow the inside to cook through.
If your loaf is collapsing after baking, it probably didn't have enough structure. You can add xanthan gum or psyllium husk to help with stability. Gluten-free bread does not behave like bread; therefore, methods need adjustment.
The texture of gummy, soft bread may have to do with underbaking. So don't forget to check the internal temperature of your bread and then let it cool completely before slicing, which might also set its structure while allowing for a better texture.
It's not just about flours substitution when baking gluten-free bread from scratch, but it's very delightful that allows one to be creative and experiment. In time with patience and practice, you will be enjoying homemade deliciously prepared gluten-free bread tailored to your taste. Enjoy baking!
Russell Comeaux - Mar 30, 2025 - 13 min read

Alexis Larose - Mar 25, 2025 - 15 min read
Bobby McKelvey - Mar 18, 2025 - 12 min read

Mackenzie Silvers - Oct 26, 2024 - 16 min read