Understanding Oven Hot Spots and How to Bake Around Them
Russell Comeaux - Mar 30, 2025 - 13 min read
Yeast is fun stuff when proofing dough and changing ordinary ingredients into puffy bread. Knowledge about the art of how to properly let dough come alive makes the difference in a tender final product that yields fantastic flavors. Use this guide as your journey in discovering how to go through proofing's minute differences for baking success with each recipe.
Yeast is a living organism and a type of fungus used in the baking process. It consumes sugars and produces carbon dioxide and alcohol when activated, thus causing dough to rise. This process is not only responsible for bread's structure but also adds to its flavor. Active dry, instant, and fresh yeast are some examples of types of yeast and their preferred methods of activation.
It's a very similar process to maintaining an ecological mini-system to get a culture going in bread, which is the usage of yeast. Each and every form of yeast needs varied circumstances to be used effectively, for example: the active dry yeast which should be dissolved in the warm water before being applied but the instant yeast can be put in directly with the dry ingredient mixture. The more one is aware of differences the better their final result is going to rise as well as how it would appear.
Other than leavening, yeast affects the flavor of bread. The compounds produced during its fermentation process contribute to aroma and taste. So choosing the right type of yeast and knowing how to use it properly can really improve your baking skills.
Sugars are necessary for yeast to proof. It feeds yeast, thus keeping it active to produce carbon dioxide. Temperature is also a big influencer of the activity of yeast. Ideally, yeast is active between 75°F and 85°F. Below that temperature range fermentation slows down, making it denser than usual.
A warm environment will make the yeast act fast, and you will find that your dough rises faster than you would expect. On the other hand, a cooler environment is great for more complex flavors. Most bakers prefer letting their dough rise slowly in the refrigerator, which is called cold fermentation. This helps develop flavor while allowing the yeast to be active without overwhelming the dough.
Knowing the interaction of yeast, sugar, and temperature will allow you to be able to take informed choices while proofing your dough. It would make it easier for you either to get a quick rise or have a slow fermentation. The two will reflect in how your bread might taste or feel.
Fresh yeast is much more active than older yeast. Before using, check the date of expiry on the product. Moreover, hydration in yeast will also be determined by the flour you use. Some flours are higher in proteins, which results in breads with higher gluten contents that can create better structures for the bread.
Humidity is another factor that takes its share in proofing the dough. In a relatively humid atmosphere, the yeast works faster because of added moisture in the air that might speed up the fermentative process. On the other hand, in an extremely dry environment, bakers will have to adjust levels of hydration to get enough yeast activity. Controlling these factors in the environment gives you consistent results in your baking.
Proofing dough requires personalising to your own circumstances, so watch your dough over time and see what environments it likes best to make your adjustments accordingly. In the end, you'll better know your yeast's and your dough's needs to enable them to create outstanding outcomes for you with regularity.
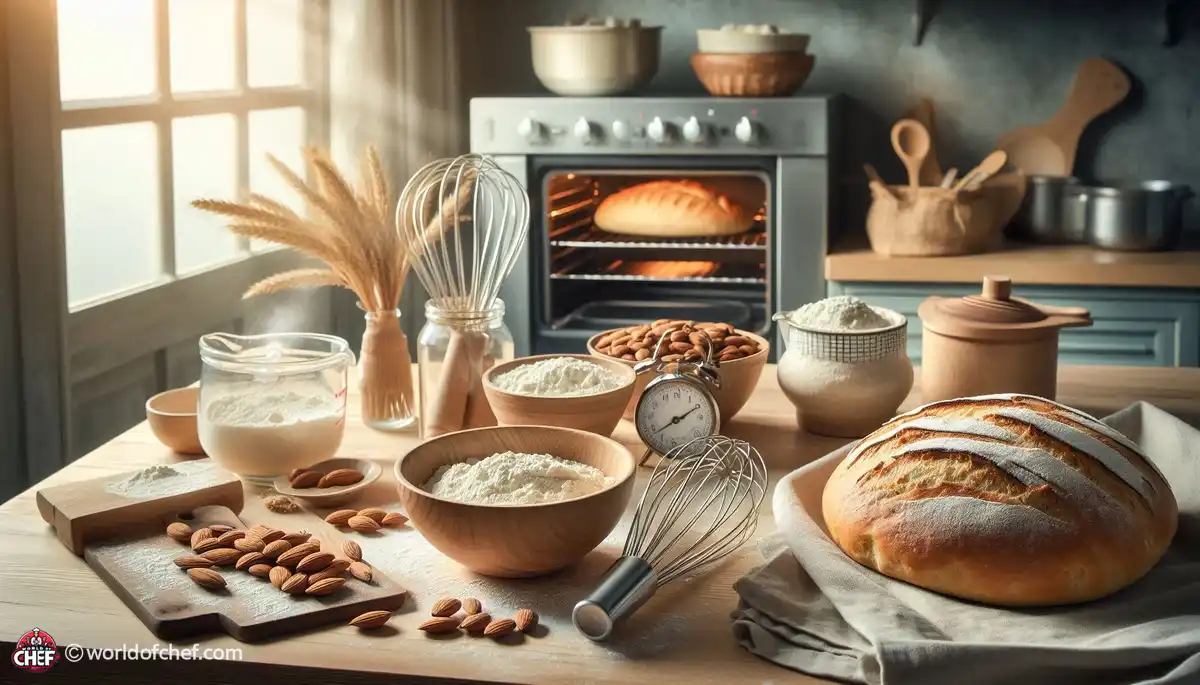
The first stage in the proofing process is the preparation of the dough. The quality ingredients for the preparation will be flour, water, salt, and yeast. This makes the quality of the product depend on the ingredients; therefore, it is prudent to use fresh and of high quality. Measure all the ingredients and mix until a cohesive dough is achieved.
A very important step is kneading the dough. This process develops the gluten in it, which gives your bread structure. Work until the dough feels smooth and elastic, normally about 10 minutes with your hands or 5 with a stand mixer. The dough will spring back when poked, indicating gluten has been developed to a suitable level.
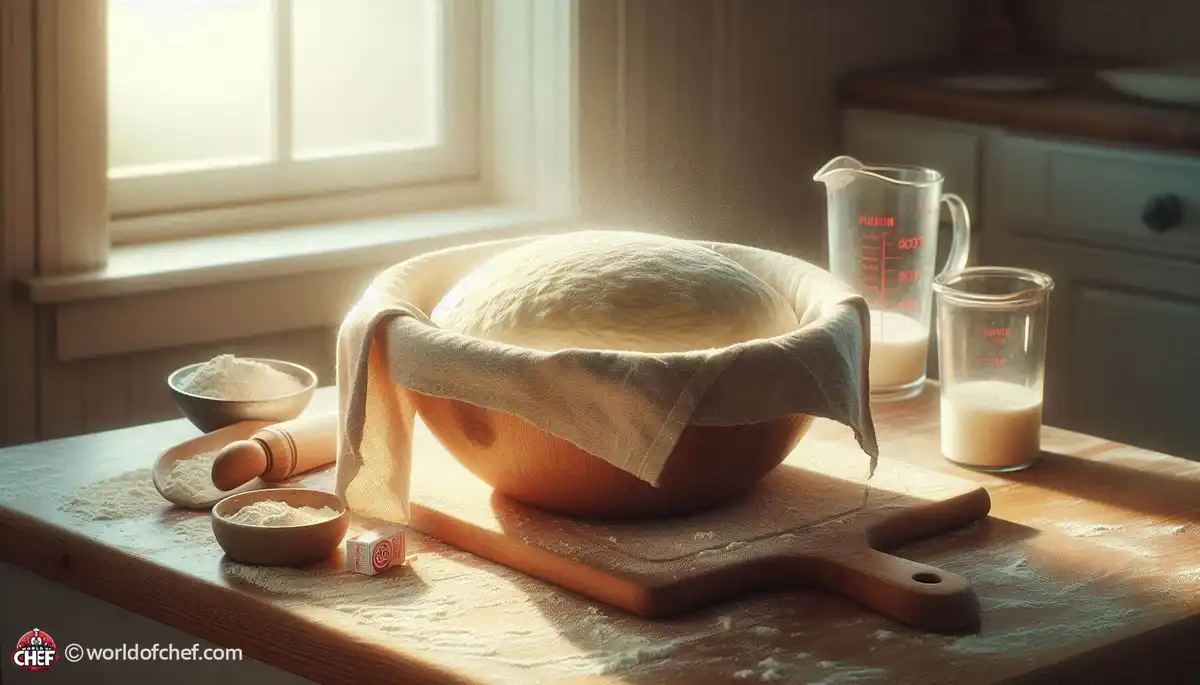
Once you knead the dough, you should make it into a ball and put it in a lightly oiled bowl. Covering the bowl with a damp cloth or plastic wrap will provide a warm, moist atmosphere that is important for the yeast to grow. The warmth and moisture will allow it to hold onto this temperature and moisture during proofing.
The first rise, or first proof, is when the dough doubles in size. This usually takes one to two hours, depending on room temperature and yeast activity. A good check for readiness is to gently poke the dough; if it springs back slowly, it's ready for the next step.
At this point, you will see that it has risen and is airy. That's a sign of working yeast. If your dough does not rise sufficiently, it could be because your yeast is dead or the environmental conditions are not so good. Keep an eye on it and modify your techniques accordingly.
It's a good time to get your baking environment in place while the dough rises. Prepare your oven, prepare your baking tools, and be prepared with any fillings or toppings you may desire for your bread. By doing this ahead of time, it will make working efficient when it's time to shape and bake your dough.
When the dough has doubled in size, it is ready to shape. Gently deflate the dough to remove all trapped gases, then you can take it and shape it into whatever loaf, rolls, or even baguette you want. It not only helps to create the form you want, but this process also distributes the yeast evenly throughout the dough for even fermentation.
Now shape the dough into desired loaf or rolls. Place them onto prepared baking sheet or loaf pan. Now is the time to again cover it with a damp cloth or plastic wrap. The final rise is also called the second proof that allows dough to rise once again. For most recipes, it's 30 minutes up to an hour. During the final proof, the dough will eventually end up light and airy.
In the second rise, observe it in size. Just like the first proof, it should be noticeably bigger. If this does not happen, something might have gone wrong, either in your environment or when activating the yeast. A second rise properly executed will see to it that your baked bread comes out just right.
Sometimes proofing can just go bad despite the best efforts. Dough that won't rise is the most common problem; this is due to inactive yeast, too cold water temperature, and too much salt. You may try a quick test to find out whether it's yeast by dissolving a teaspoon of sugar in warm water and adding a little bit of yeast; if it begins to bubble in 10 minutes, it's working.
Another problem you might experience is over-proofing. Over-proofed dough will tend to collapse when baked. In extreme cases, it might become too sticky and loses its shape. Always be on the lookout for the dough while it's proofing to avoid over-proofing. If you notice that the dough has risen too much, you can gently press it down and shape it again to have a shorter second rise.
The temperatures also cause a fluctuation in proofing. When your kitchen is too cold, place the dough near the oven or inside the microwave when its light is on. The reverse situation when your kitchen gets too hot is that the time spent for proofing will have to be shorter, or the dough may have to be placed somewhere cooler so the yeast functions perfectly.
Knowing the signs of good proofing will make you much more confident in your baking. The dough should look soft, slightly tacky, and with visible bubbles on the surface. When you gently poke it with a finger, the dough should spring back slowly as if it's ready to be used for the next step. If the depression remains, then your dough could be over-proofed.
Also, the dough itself might be able to smell and determine the success of the fermentation process. The aroma of the dough should smell fresh, like yeast is actively present in it. When it smells sour or not quite right, that may mean that spoilage occurred, so you'd need to begin again from scratch using new ingredients.
Finally, you may get to know by how much the dough's size can tell you a lot. A well-proofed dough will usually double its size during the first rise. To make sure that you know it has risen adequately, you can always take measures of the height of the dough before and after proofing.
Every recipe and environment is unique, so proofing times must be flexible. Humidity, altitude, and ingredient temperatures will all have a part in how fast your dough rises. For example, if you live at high altitude, you may wish to shorten your proofing times because dough will rise faster at elevation.
On the other hand, it might take longer to your dough to rise if there is colder weather or a winter season. Under those climatic conditions or season, you will be inclined to increase the time proofing or use cold fermentation. Most bakers can sense the dough due to an intuition developed with an instinct of changing proof times they have learned along with experience.
In general, you can bank on your instincts. When it looks right and feels right, probably it is so. Experience will also dictate to you what a well-proofed dough looks and then allow you to tweak it appropriately.
Cold fermentation is the technique used to make the dough slowly rise in the fridge and thus develop the flavor better. Slowing down the fermentation process gives time to the yeast to give flavors and aromas, making your final product better; many artisan bakers favor this process.
To use cold fermentation you prepare your dough as in the normal process but do not allow it to ferment at room temperature. Cover the dough and refrigerate for 12 hours up to several days; timing depends on your schedule as well as the flavor intensity desired. This means, when you are ready to bake, you remove it from the fridge, give it a shape, let it undergo a brief second rise, and bake it.
Cold fermentation is the process which yields great results. One gets a crusty bread with chewy interior, and depth of flavor difficult to be achieved through regular methods. It is great for people who wish to get the dough ready ahead of time. Thus, it works out great for busy bakers.
In general, the use of steam in baking improves greatly the texture of your loaf. This is because moist conditions created in the steam during the first part of baking cause the dough to entirely expand before crust formation. This best suits artisan loaves to rely on crispy crusts for their overall feel and on chewy insides.
The hot water can be placed at the bottom of your oven with a pan, or the oven walls can be sprayed with water before placing the bread in it. The Dutch oven method is taken by others, where steam it creates helps to ensure an ideal crust since it traps it while the bread is baking. No-knead bread is probably one of the best examples where this helps.
Steam experiments elevate your baking, such that you get an excellent golden and crisp crust contrasted by the soft and airy interior of the bread.
Proper shaping techniques will allow for a better structure as well as appearance of your final product. When shaping your dough, you'll want to have tension across the surface so that rise is even and crusts are beautiful. Gently use your hands to stretch and fold your dough, working edges underneath to create a top.
There are a variety of different shaping techniques, like envelope fold or boule, which result in different textures and appearances. The target is a taut, surface-carrying skin that retains its shape as it proofs and bakes. This well-shaped loaf will more evenly expand, meaning more uniform crumb structure and much better appearance overall.
Taking the time in learning to shape techniques shall do more to give bread that quality you are pursuing. At this point, a good-shape bread will do to ensure the dough rose into that proper shape such that this perfectly baked loaf would seem as appealing and it will taste.
Once your bread has been baked to perfection, the fun really begins by enjoying the fruits of your labor. There is a certain satisfaction that comes with breaking into a fresh loaf, with the warm steam rising up as you cut it open. The smell fills your kitchen, and the texture is inviting, crusty on the outside and soft on the inside. Homemade bread brings with it a sense of accomplishment and comfort that cannot be obtained from buying bread at a store.
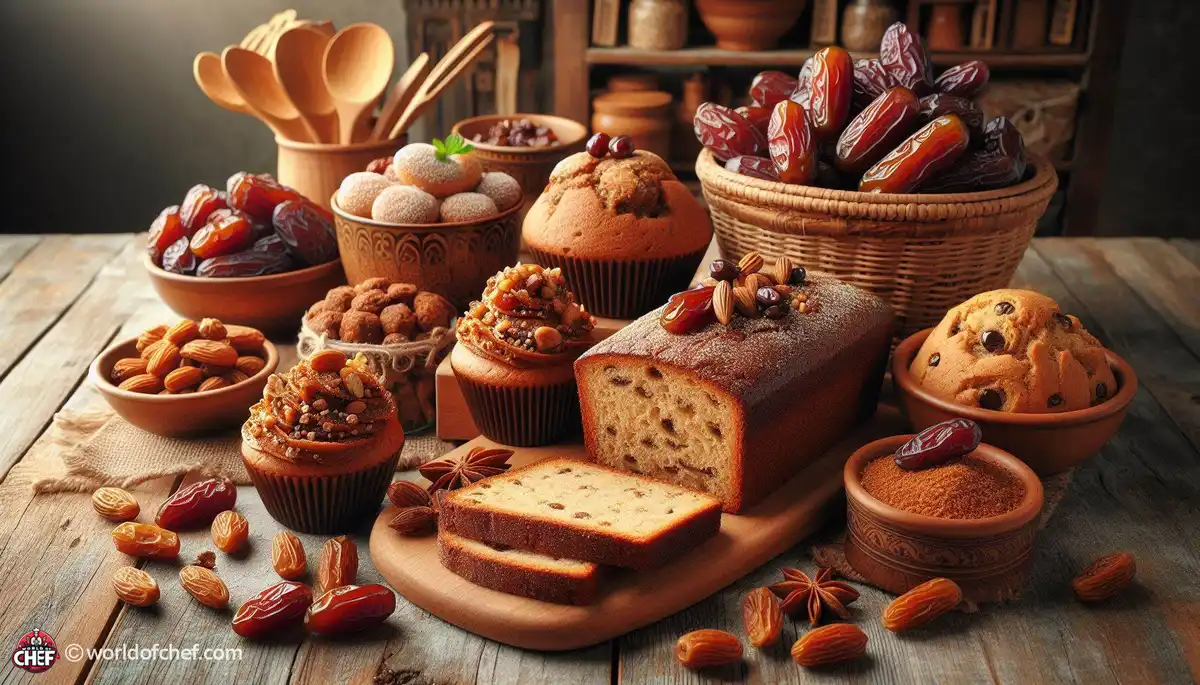
The possibilities in trying different recipes, flavors, and techniques are endless. All types of bread, be it the traditional sourdough or enriched brioche, have a unique personality and character. One can experiment with herbs, spices, and other ingredients and create each loaf with personality. Baking is an art that welcomes creativity, not a skill.
As you slice into that homemade bread, you might decide to share it with family and friends. Fresh-baked bread certainly can do nothing to unite people together like a fresh loaf fresh from the oven. If it's a casual dinner party or a quiet evening at home, good bread makes every event a little more special.
This is an excellent means of bonding over bread by baking it together. While sharing with your friends and family, it creates community and warmth. You may even organize a bread-baking party in which everyone could contribute to the process by making it more fun and memorable. All the giggles and guffaws, kneading, shaping, and proofing together-these can just be part of your moments.
A loaf of homemade bread is also a thoughtful gift. Whether for a special occasion or just because, a loaf of bread lovingly wrapped tells much about your thoughtfulness. That is simple yet meaningful expression that is often taken further in amazing conversations about baking and flavors.
Baking is the best tradition to be incorporated in this busy world; it creates a good memory which will be shared and enjoyed for generations to come. The activity of baking then becomes a special occasion or something to look forward to because it brings lives for generations together with good food and joy. Continue Baking
As you master proofing dough with yeast, you realize that this was only the beginning. Truthfully, baking is really an adventure of learning something new every other day. Be it bread types, different grains, or venturing off into the world of pastry and desserts.
Joining a community of bakers will always open you to some great and invaluable resources, tips, or support. Inspiration will abound in others' successes and sometimes challenges, helping grow a baker in the best ways. Keeping a baking journal - recording your experiences in which you track progress, take note of what works, and what does not- can be fun for more informed decisions in the kitchen.
The real magic of baking is in the doing. So celebrate the small victories, enjoy your little successes, and make many mistakes along the way, getting a sense of what it involves: making loaves and offering it out to the people for that delicious adventure of yours to enjoy years later.
Russell Comeaux - Mar 30, 2025 - 13 min read

Alexis Larose - Mar 25, 2025 - 15 min read
Hailey Morrill - Mar 21, 2025 - 18 min read
Bobby McKelvey - Mar 18, 2025 - 12 min read