Understanding Oven Hot Spots and How to Bake Around Them
Russell Comeaux - Mar 30, 2025 - 13 min read

Baking is the art of precision. One thing that is very fundamental is a well-calibrated oven. Even the best recipe can turn into disappointment without an oven that heats well. Whether you are an expert baker or just beginning, knowing how to calibrate your oven will make a difference. This guide takes you through the steps necessary to ensure your oven offers the perfect baking environment and enjoy delicious baked goods on a consistent basis.
Oven calibration is the process of getting your oven to set a temperature correctly. Most ovens have a set temperature range but can become misaligned due to age, frequent usage, and environmental changes. If your oven is off by even a few degrees, it can make a huge difference in your baking.
Why? When baking, temperature matters. Chemistry depends on being at just the right heat. In fact, in recipes, the called-for 350°F oven temperature of your house might be set at only 340°. Thus, baked goods may not rise properly and turn out incorrectly. Conversely, an oven that runs hotter than what is called for can easily result in baked goods becoming overbaked or even burnt. An oven is only calibrated once, which will ensure every time it reaches the intended temperature to bake the exact dessert you have always wanted to make.
Understanding the need for oven calibration can change everything about baking. The time taken in calibrating is investing in culinary skills and making sure every loaf of bread, pie, and cake turns out just as envisioned. It's a small step that yields big rewards in the kitchen.
But before getting into calibration techniques, you should know when your oven is off. The most obvious sign is inconsistent baking results. For example, if your cookies burn at the bottom and are raw at the top, or if your cakes rise unevenly, it is time to check your oven's temperature accuracy.
Another symptom of the issue is the difference experienced in cooking times. Whereas a recipe might say a particular thing would take half an hour in the oven, you find that, again and again, time has to be added so much, then your oven probably runs cooler than it should be indicated. Or else, if you often experience the need to scale down the cooking times always, maybe your oven runs warmer than it should be.
Lastly, there is the oven thermometer. If you bake a lot, this is an investment worth making. These simple devices monitor the actual temperature inside the oven so you can adjust your baking practices. If you keep seeing a discrepancy between what the thermometer reads and your oven setting, then it's time to calibrate.
Assemble the tools you would need before calibrating the oven. The most basic tool is an oven thermometer. This is a device that is low cost in price but will let you measure the temperature of the oven accurately, determining a difference. Some are designated for ovens alone; others can be used anytime in cooking. A better result will be produced using a good, reliable thermometer.
Apart from the oven thermometer, you will need to have a notepad, or even a digital tool, to note your findings. This way, you will be able to trace the performance of your oven over time. A timer is helpful when measuring how long it takes to cook and recording how that stacks up against the recommended amount in the recipe.
Lastly, if your oven allows for manual calibration, you would need a screwdriver or the appropriate tool to calibrate. You would always have to refer to the manual of your oven for further guidelines on how to calibrate since it varies upon brand and model.
Once you have cleaned up your tools, begin preparing your kitchen for calibration. Ensure that you start off with a clean oven; it may be carrying any type of odor or residue affecting your measurements. Take away racks and bakeware as these might be the reasons why your temperature goes astray. Remove everything in the oven, leaving the oven free of any obstruction, including obstructions like shelves. Check on the door seals and make sure they are free from dirt and functional.
First, make sure your oven is set at the temperature you are testing. While some authors recommend that you start with 350°F, use any temperature that you normally use daily. When your oven is at the target temperature, wait a few minutes and then place the thermometer inside. End.
Remember, the name of the game is patience. Allow your oven to preheat fully and let the thermometer adjust the temperature inside accurately. Calibration does not imply instant remedies but rather creates a foundation for all of your baking experiences.
Now that you have all of your equipment in place and your oven is prepared, it's time to calibrate your temperature. Position the oven thermometer at the center of the middle rack. Typically, this is the best spot for reading since air inside an oven is distributed more uniformly than anywhere else. Shut the oven door and let it stabilize for at least 15 to 20 minutes.
Let it sit for some time, then check the thermometer reading against the set oven temperature. If the reading is more than 10 degrees different, you will need to adjust the settings on the oven to its standard adjustment.
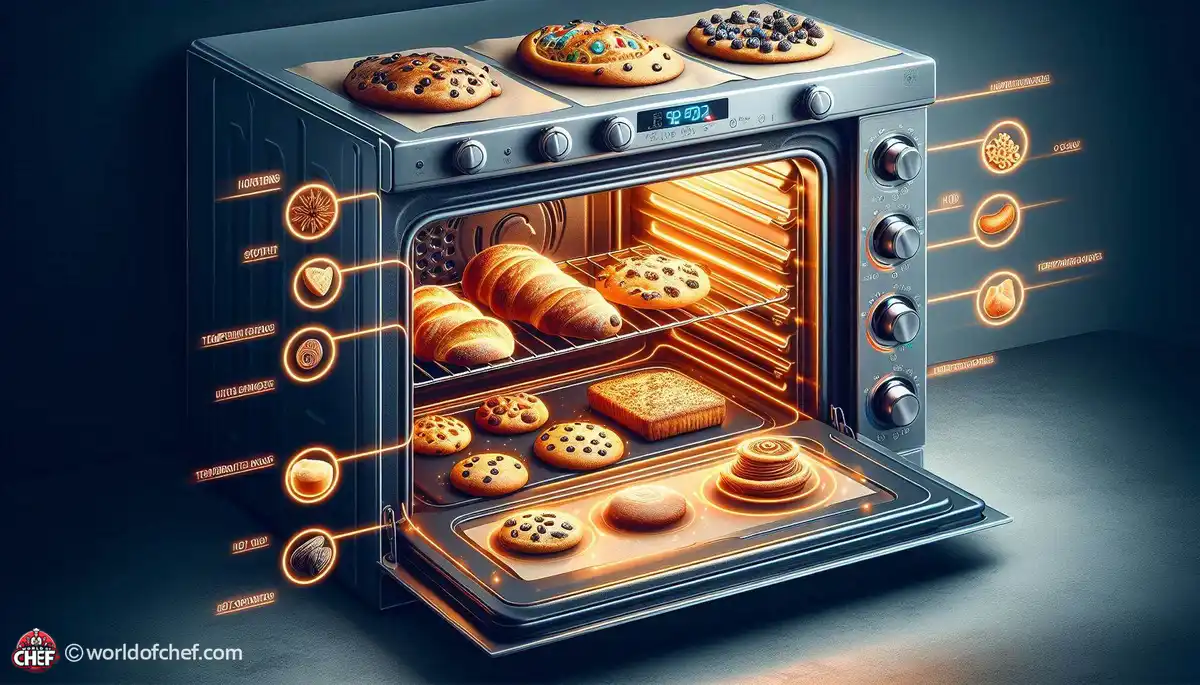
If you have many oven thermometers, place them at different points within the oven to check out how the temperature is uniform across the oven. Testing will inform you on whether there are certain hot spots that affect heating, and therefore influence your results.
With the temperature readings you've got, it's now time to interpret the results. If the thermometer reads above the set temperature, then your oven runs hot and you need to decrease the temperature setting. If it reads lower, then you will want to increase the temperature setting. A log of these readings will be helpful in monitoring trends over time and recognizing changes that may need attention.
You will, for instance, be more versatile in baking because you have learned the intricacies of your oven. Suppose you know that your oven runs hot; you are in a position to rectify this by altering recipes or reducing baking time, particularly when making soufflés or delicate pastries that demand precision.
Finally, realize that temperature can shift within a bake. Monitor everything you bake, particularly right after calibrating your oven. This way, you will catch any anomaly occurring and make the proper corrections.
If your oven has a calibration feature, the manual calibration process is usually quite simple. However, you have to refer to your oven's manual as the process is different in every model. Most of the time, you'll be required to find the calibration screw that is located behind the control panel.
First, turn your calibration screw with your screwdriver. In most calibration screws, turning it in a clockwise direction will warm up the oven, whereas turning it counterclockwise will cool it. You will make small, incremental adjustments of about 5 degrees Fahrenheit, check the oven's temperature once again using your thermometer. This will be an iteration process, so you don't overcorrect and end up with another oven that is slightly off the mark.
Moreover, it can take several cycles of fine-tuning and checking to reach the optimal setting. Don't hurry to complete this procedure; you require precision. Once you have accomplished all of your desired temperature matching, note what you have done. Writing down your adjustments may prove useful in the event that you notice other problems later or if you plan to re-calibrate again sometime down the road.
Some modern ovens come out with automatic calibration so that processes are easier on the people using them. Some would have self-diagnostic that can check temperature accuracy; it will change it within the oven, if ever. If it has these features, please follow it on your digital display that comes with it.
Automatic calibration can be started, given that an exact thermometer reading is taken since the oven may be using that data to zero in on its self-recalibration. Have a clean oven free of all contents before starting. Self-calibration of your oven takes a little time, so it's nice and hassle-free.
Then, calibrate the oven automatically. Again, check the temperature using your oven thermometer. This is something to do even if technology is advanced since the temperature settings may be incorrect. When the error does not change after retesting, there might be a need for manual calibration.
Once you calibrate your oven, it will maintain its accuracy with time. You should then add testing the temperature of your oven to your baking routine using your oven thermometer. You can check every few months or whenever you feel that changes are occurring in your baked products depending on how often you bake.
In addition to temperature checks, pay attention to the condition of your oven. Any unusual sound and the oven door failing to close can affect the temperature control. Regular checking of your door gasket and replacement if necessary helps you achieve a consistent baking environment.
One other thing that is important in keeping the oven clean. Grease and food particles may cause interference with heat distribution hence leading to inaccurate readings. Schedule for a deep clean every few months, and when heavily used, make sure to wipe the insides clean. A clean oven ensures the perfect baking results.
Sometimes it happens even with the best preparation for the perfect baking process - the type of bakeware you use can indeed contribute to your baking. While dark, non-stick pans absorb more heat from the oven and possibly quickly brown, shiny pans especially those that are of lighter color reflect heat out thus making the baking for the longer time. With regards to this, achieving just the right results starts off with knowing how it combines with the temperature.
If you're frequently switching from one style of bakeware to another, you can expect a change in baking time and temperature. Test a pilot batch with a new recipe if you're not sure exactly how your specific oven and bakeware will respond. This trial-and-error exercise will help you navigate through the process as you master your technique, when you'll be better able to adjust each time you prepare the recipe.
The other factors are seasonal changes that affect your oven. For instance, when it is winter, the cold kitchen affects how your oven heats up, and when it is summer, it is the humidity that changes the baking conditions. So, be very observant of such factors, especially when extreme weather conditions are in question.
You can make adjustments in the baking times and temperatures in order to accommodate such variations. Monitoring how these conditions affect your baking will increase your experience and help you achieve better results in the long run.
Calibration for oven entails understanding and checking the temperature accuracy of your oven if you are one who prefers baking. The ability is what will keep you successful while in the kitchen. Checking, testing, calibrating, and oven maintenance contribute to every aspect.
Remember, baking is a science, but it's also creativity. You can experiment with recipes, adjust to your taste, and become a more confident baker if you have a well-calibrated oven. So take the plunge and invest a little time into calibrating your oven-you will be rewarded with delicious results that will make all your efforts worthwhile. Happy baking!
Russell Comeaux - Mar 30, 2025 - 13 min read

Alexis Larose - Mar 25, 2025 - 15 min read
Hailey Morrill - Mar 21, 2025 - 18 min read
Bobby McKelvey - Mar 18, 2025 - 12 min read