Simmering with Spices: Infusing Flavor into Your Dishes
Emery Donley - Oct 8, 2024 - 8 min read
Yeast is similar to the heartbeat of bread. It brings life to dough and makes all that airiness that we all dream about within those loaves. It also needs a proper proofing to unfold its maximum potential. What if, at the very magical moment when yeast has woken up from sleep and fermentation has started doing its wonders? Without adequate proofing, your loaf could well end up becoming denser, flatter, and less flavorful.
Before proceeding to the tips and tricks, let us first have a brief introduction to the science behind proofing. Yeast, a living organism, consumes sugars present in the dough and emits carbon dioxide gas as a byproduct of its consumption. This gas is trapped in the structure of gluten, which will make the dough rise up. Sufficient proofing allows yeast to metabolize enough sugars and produce that perfect rise.
The right type of yeast is very important for successful proofing. Fresh yeast, also known as cake yeast, is highly perishable but offers excellent leavening power. Active dry yeast is the most commonly used and can be stored for longer periods. Instant yeast is similar to active dry but doesn't require proofing, making it a convenient choice for busy bakers.
No matter what kind of yeast you use, the most important thing is that it must be active. Always keep in mind to check how fresh the yeast is from its expiration date and let the yeast stay in the cooler, drier region of your home. Even before proofing, yeast testing is always a very good idea by dissolving yeast in warm water, mixing with a pinch of sugar. If it forms bubbles and froths up in a few minutes, it is active and perfectly healthy.
Yeast is temperature sensitive and would need the best proofing environment. For most yeast doughs, the perfect place is warm, between 75°F to 85°F, or 24°C to 29°C. Too cold and the yeast becomes sluggish, too hot and it can die off.
Apart from temperature, another important factor is humidity in the proofing process. Moist conditions ensure that the skin of the dough will not dry out and maximize expansion. This can be accomplished by covering the dough in a damp cloth or keeping it in a greased bowl covered with plastic.
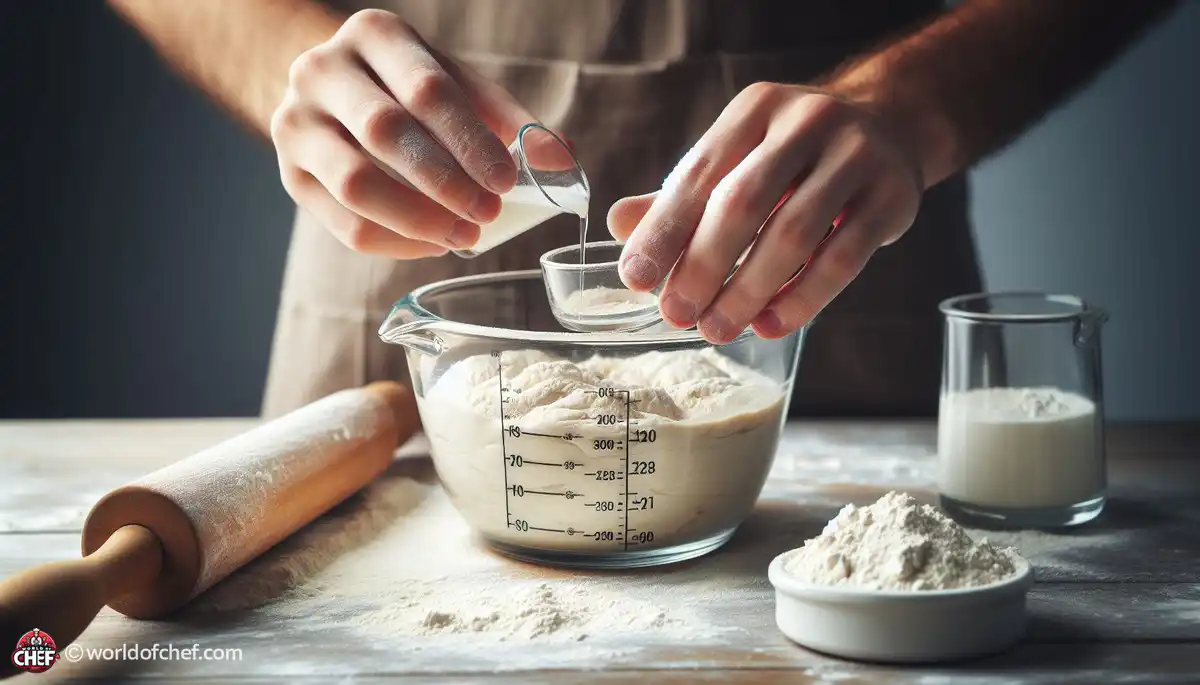
Before proofing, ensure that your dough is well mixed and adequately kneaded. Mixing helps in the uniform distribution of yeast within the dough. Kneading develops gluten in dough, which helps to trap carbon dioxide gas during proofing.
Patience is the key when it comes to proofing. Allow the dough to rest and rise as instructed in the recipe. You will have an underdeveloped flavor and texture if you try to rush this process. Over-proofing can lead to a collapse of the dough or an off-flavor.
If your dough is taking longer than you anticipated to rise, then check the temperature of the proofing environment. It may be too cold and therefore fails to activate the yeast, or the yeast may have expired or is inactive.
When you overproof a dough, the dough comes out looking flat and has an extremely deflated look with an incredibly sour smell. Should that happen, carefully knock all the air out of it, then form the dough back to shape, then let the dough complete another, short proof. The next step would be watching the length of the proofs so it will not do this to you in the future.
Old-fashioned proofing is letting the dough rest in room temperature and then let it rise, whereas cold proofing allows dough to ferment overnight in the refrigerator. Cold proofing will develop more complexity in flavors and flexibility of scheduling in baking.
Poolish and biga are types of pre-ferments that are used to build flavor and texture in bread. Incorporating those pre-ferments will call for adjusting the proofing times as well as temperatures to accommodate the added fermentations into the recipes.
As explained above, the characteristic crust texture and open crumb structure of artisan-style bread are achieved through longer, slower proofing. The increased complexity of flavor and texture in the loaf is thus obtained.
Sweet breads and enriched doughs, such as brioche and cinnamon rolls, require a perfect balance in proofing so that it does not become too light and tender to crumb without losing flavor. Change the proofing time and temperatures to avoid over-proofing or yeast burnout.
Like any baking skill, the craft of proofing yeast requires a little practice to get perfect. Experiment with various techniques of proofing, temperatures, and fermentation times to find what works best for you and your basking preferences.
While recipes provide guidelines, don't be afraid to trust your instincts and adjust proofing times and techniques based on visual and sensory cues. With time and experience, you'll develop an intuitive understanding of yeast behavior and how it impacts the final outcome of your bread.
Making the perfect loaf of bread is more art than science. Once you master the proofing of yeast, you will unleash the full power of your bread-baking adventures into delighting friends and family with each perfectly risen slice. So roll up your sleeves, preheat the oven, and let the magic of yeast do its thing.
Emery Donley - Oct 8, 2024 - 8 min read
Russell Comeaux - Oct 8, 2024 - 8 min read

Walter Backus - Oct 7, 2024 - 8 min read
Samantha Thames - Oct 7, 2024 - 6 min read