Simmering with Spices: Infusing Flavor into Your Dishes
Emery Donley - Oct 8, 2024 - 8 min read
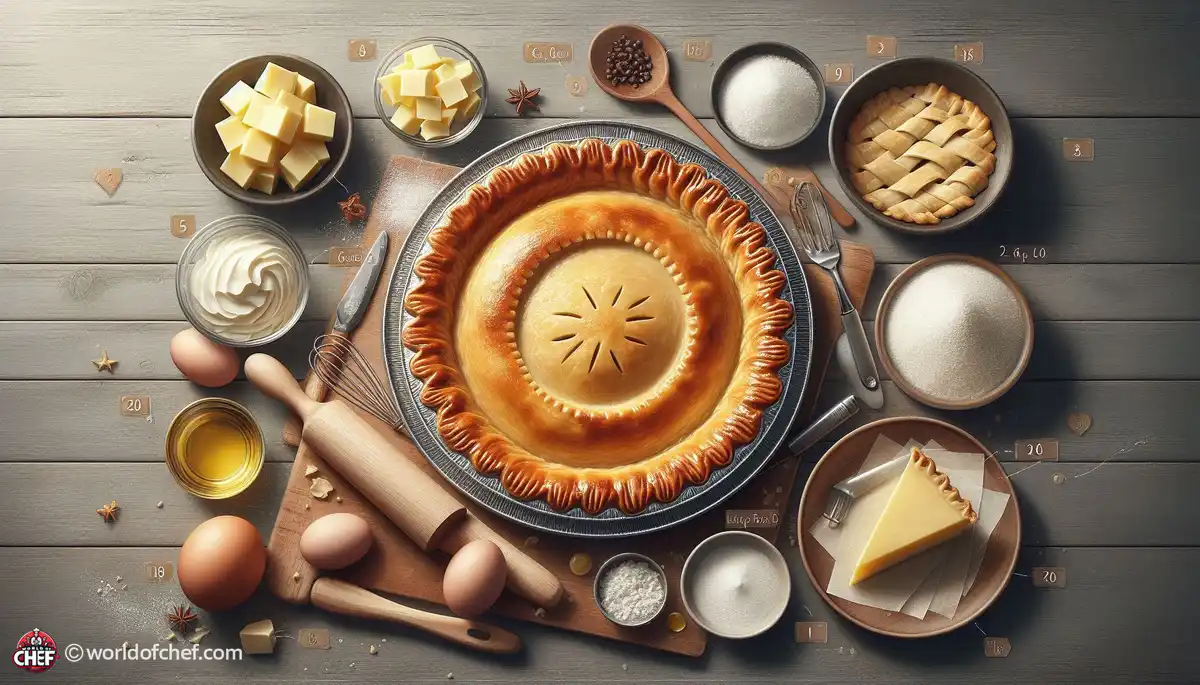
While flour can hold a pie crust together, getting the wrong flour can either make your crust as tough as shoe leather or so soft that it breaks into crumbs just by touching it. In general, you should be looking for flour with average protein levels, like all-purpose flour. Using pastry flour is even softer and will give you an even more tender crust. Avoid using flour with higher protein levels as in bread flour where the crust would end up rather hard.
The most important choice, however, is the kind of fat used. If you are looking for a flaky pie crust, there is nothing like butter; traditionalists swear by the rich flavor. Others opt for the ease of using shortening, or a mix of both. Try different fats to come up with your favorite texture and flavor profile.
Water is the most liquid applied in pie crusts but, occasionally milk, vinegar, or vodka is used in recipes. However, the best liquid applied has to be ice-cold in order not to melt the fats too soon hence flaky and tender. A splash of acidity such as in vinegar or lemon juice helps to keep the gluten development down which in turn creates a crumbly crust.
One of the golden rules for pie crust success is to keep your ingredients and equipment as cold as possible. So chill your flour, your fat, and even your mixing bowl in the refrigerator before you start. Cold ingredients are the key to getting flakiness because they make sure the fat doesn't melt too quickly and be absorbed by the flour.
When you are mixing your dough, less is better. Overworking the dough creates gluten, which toughens the crust. Just mix the ingredients until they stick together, then stop. If there are still visible pieces of butter or shortening in the dough, do not worry; these will be pockets of steam in the finished pastry, adding flakiness.
There are a few ways to work the fat into the flour: you can use a pastry blender to cut it in, rub it in with your fingers, or pulse it in a food processor. In any case, the idea is to end up with a sandy texture with pea-sized pieces of fat throughout the flour.
Let it rest in the fridge before rolling it out after you mix your dough. The resting time will let the gluten relax and allow the fat to harden, which means that this dough will be very easy to handle and minimizes shrinking when baking. At least 30 minutes is expected, though the longer you rest, the better it is.
Roll out your pie crust as quickly as you can without warming the dough. Roll out from the middle of the dough, turning the dough often so that the crust is about the same all the way around. Your crust will be perfect and flaky if it's approximately 1/8 inch in thickness. If the dough feels too soft or tacky, chill it for a few minutes and proceed as needed.
Dip the bottom of the crust using a fork to prevent it from uneven puffing up in baking. Poking the dough with the tines on the fork all over, however small the vents can be, lets the steam from inside escape and, thereby, will give a proper bake. Besides, making a crimping pattern along the edges will beautify the pastry, whereas closing the filling will make sure that there is no leakage.
The process of pre-baking or blind baking the crust will depend on the pie you are making. You would pre-bake your crust if you have a pie with fillings that don't require further baking. Pre-baking is usually for pies that have cream or custard fillings. You need to blind bake the crust if you have a pie that requires longer baking, such as fruit or quiche. Use a Pie Shield
Another method of preventing the crust edges from over-browning during baking is to use a pie shield or strips of aluminum foil covering them. Simply place it around the outer edge of the crust before placing your pie in the oven. This simple step ensures your crust bakes evenly and doesn't get too dark.
For a really golden and shiny crust, you can brush it before baking with an egg wash. Just beat an egg with a tablespoon of water or milk and brush it smoothly over the surface of your crust. The proteins within the egg will help enrich the color of the crust along with giving it a shine.
If your pie crust shrinks a lot once baked, then this is attributed to inadequate chilling or you overworked the dough. This can be prevented in case you allow your dough to get well chilled then roll out the dough when it's soft, instead of forcing it.
A soggy bottom crust occurs when you use a liquidy filling for the pie and the oven wasn't ready. Pre-baking or blind baking of the crust before adding the filling will help avoid that soggy bottom. A soggy bottom sometimes also occurs when the oven, as per the recipe that you are using, wasn't preheated to the right temperature.
Tough crusts tend to develop from the dough when there is overworking of the dough and too much flour at rolling. This can be overcome by handling the dough the least amount possible and by using just enough flour not to stick. Other recommendations include using ice-cold ingredients and avoiding overmixing.
Emery Donley - Oct 8, 2024 - 8 min read
Russell Comeaux - Oct 8, 2024 - 8 min read

Walter Backus - Oct 7, 2024 - 8 min read

Samantha Thames - Oct 7, 2024 - 6 min read