Simmering with Spices: Infusing Flavor into Your Dishes
Emery Donley - Oct 8, 2024 - 8 min read
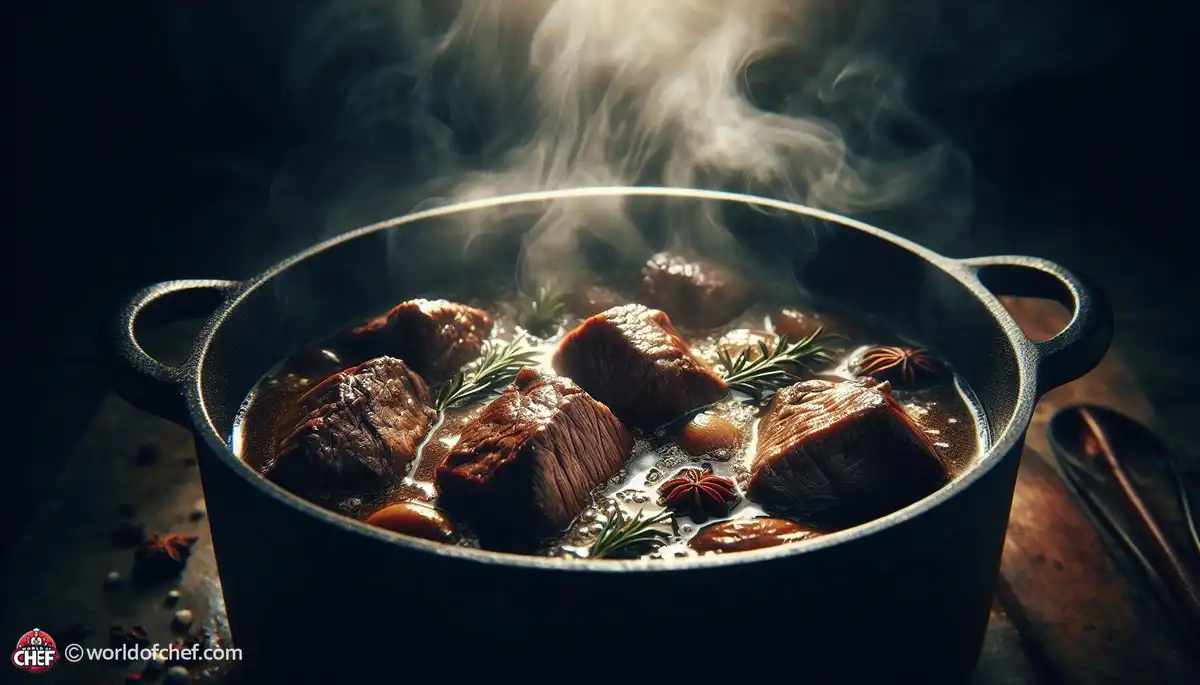
Braising is a method of cooking in which brown food in fat, and then, slowly cook that in liquid at low heat. The technique is the perfect option for tougher pieces of meat, such as chicken thighs or drumsticks, to break down all the collagen and connective tissues for tender, soft meat.
Before you cook it braising, brown that chicken first. Browning brings flavor crust to chicken; it is because proteins react with sugars under extreme temperature. So, before going ahead, do not neglect this step as that may reduce the depth in flavors and complexity in a finished dish.
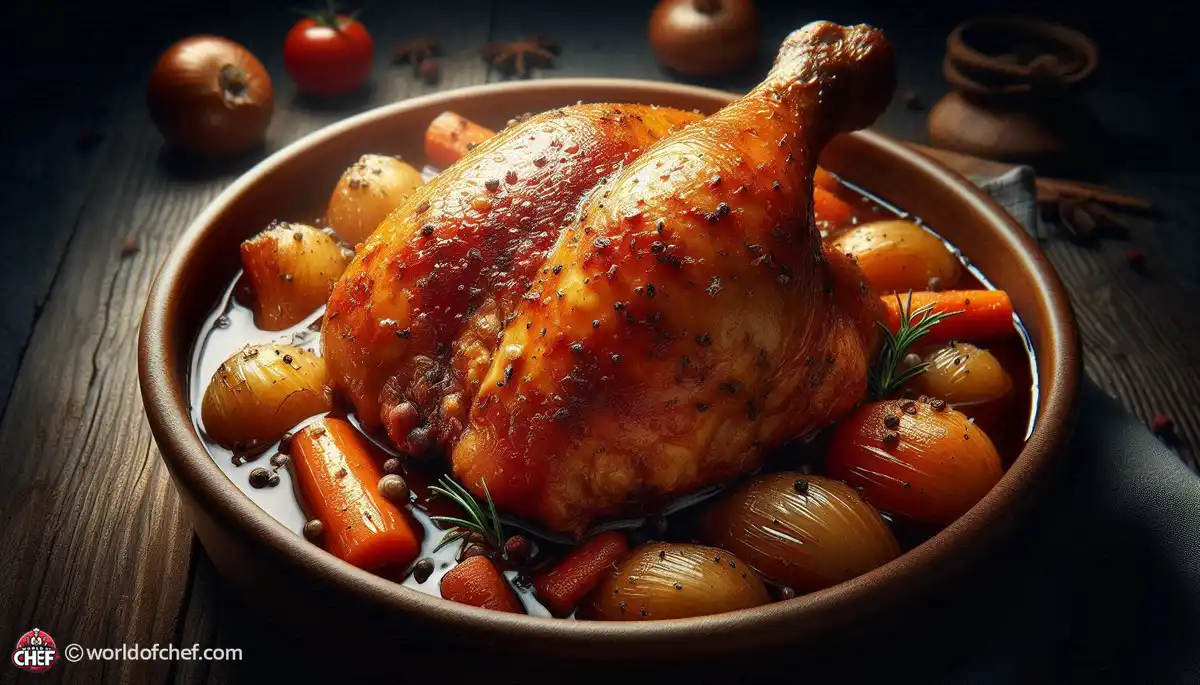
Not all chicken cuts are equal in braising. The best cuts of chicken would be bone-in, skin-on pieces of the thigh or drumstick because these have more fat and connective tissue which yield juicy, flavorful meat. Boneless, skinless breasts also work but dry faster.
The liquid that you will braise the chicken in is what makes much of your dish's flavor. Though you can substitute water if absolutely necessary, using broth or wine - or even both - can add richness and depth to your chicken. Don't be afraid to get adventurous with Flavor Combinations by including herbs, spices, and aromatics in the liquid.
Season your chicken with salt and pepper aplenty before cooking. One can also add other seasonings or herbs to fit the flavors in the liquid you are braising your chicken in. Let that chicken sit at room temperature for about 30 minutes to allow the seasoning penetrated into the meat.
You want to dry the surface of your chicken if you are looking for a crispy, golden brown exterior when browning your chicken. Use paper towels to pat your chicken pieces dry before adding them to the hot pan to ensure that moisture does not steam on the chicken's surface. Moisture on the chicken's surface prevents a crust from forming because it will steam instead of sear.
Add a small amount of oil or fat to a heavy-bottomed skillet or Dutch oven over medium-high heat. Put the chicken pieces in the hot pan, ensuring not to overcrowd it, skin side down. Let it cook undisturbed until it turns golden brown and crispy on both sides. Flip them and also brown the other side as well. It takes 3-4 minutes to each side.
Then when you browning the chicken, never discard the stuck-in lovely brown stuff at the bottom of your pan. Braising liquids can be your deglazing liquids - add these liquids to a pan where you've used a little wood spoon scraping up every tasty bit which will never burn off before the long braising times. Besides adding flavor and preventing scorching the pan will be cleaned very well.
Add the remaining braising liquid to the dish. Pour the braising liquid over the chicken such that the chicken is half covered by the liquid. Ensure you do not let the chicken be covered completely by the liquid since, when it is cooked, the skin should be left exposed such that it will not get soggy.
Seal with a lid, then decrease the heat and let the chicken simmer slowly. As braising is a long-cooked method, waiting is important. Let this chicken cook slowly so the water can dissolve all the broken-up collagen in it and merge all flavors together. Be vigilant to the chicken and bring down the heat if required for the soup to gently simmer.
In case you want to flavor your braise to the greatest possible extent, you might consider including the onions, garlic, carrots, or even celery in the braising liquid. On the other hand, adding fresh thyme, rosemary, or bay leaves would be very excellent flavor contributors in food. During the course of braising, everything above would cook and make super excellent flavor penetrate the meat from within.
After about 45 minutes to an hour of letting it simmer, your chicken braised dish should tenderize and fully cook through. To see if your chicken is fully cooked or done, check the thickness part of it with the meat thermometer and at least 165 degrees Fahrenheit/75 degrees Celsius in it is reached. Should it be not yet done, continue until you reach the temperature set for your cooking.
Remove the cooked chicken carefully from braising liquid and place on a serving dish. To thicken the sauce and serve it over the chicken, you can strain the braising liquid to remove the solids inside.
Garnish with fresh herbs or a sprinkle of lemon zest just before serving for brightness and freshness. Serve pieces of chicken on a platter or individual plates. Spoon some of the reduced braising liquid over the top for an added pop of flavor.
The braised chicken is served with mashed potatoes, rice, and crusty bread in order to enjoy the richness of the sauce. Alternatively, you can place it along with the roasted vegetables or a refreshing salad to have a well-balanced dinner. Finally, pour in some wine or drink of your choice.
And now that you have conquered the braising art of chicken, sit back, relax, and savor the fruits of your labor. Whether you are cooking for a special occasion or for dinner during the week, this braised chicken will be sure to impress by offering the tender succulent meat as well as the rich sauce. Bon appétit!
Emery Donley - Oct 8, 2024 - 8 min read
Russell Comeaux - Oct 8, 2024 - 8 min read
Walter Backus - Oct 7, 2024 - 8 min read
Samantha Thames - Oct 7, 2024 - 6 min read