
Easy Slow Cooker Chili Recipes for Busy Weeknights
Alexander Kuhns - Oct 16, 2024 - 15 min read
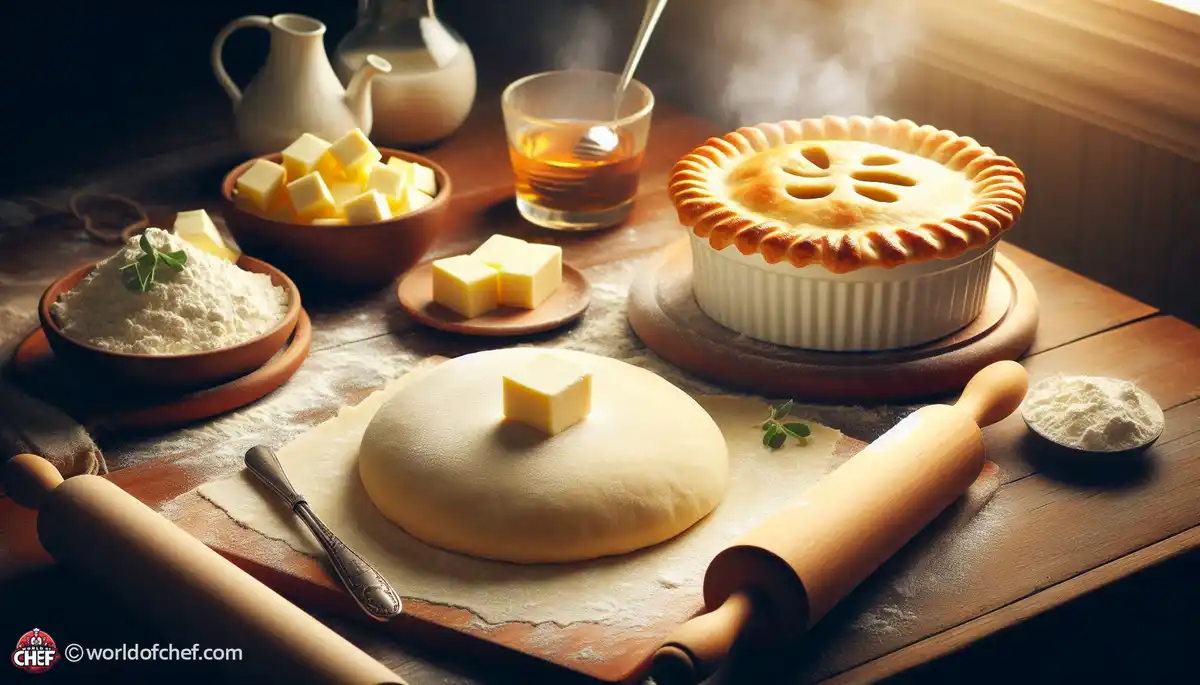
Any chicken pot pie crowns itself with its flaky crust. The first contact of your fork with the dish decides everything else that follows. It is more than just looks but also texture and flavor. A flaky crust is tender yet it is sturdy enough to carry the savory filling inside. This provides the most delightful contrast to the creamy chicken and vegetable mixture below.
Flakiness of the crust comes due to fat layers distributed through dough usually butter or shortening. The moment it goes inside the oven these melt forming steam and steam does this work that creates such desired flakiness and gives rise to flaky crust. Proper treatment and ingredient selection would yield success. Ingredients
For a perfect flaky crust, begin by using good quality ingredients. All-purpose flour, preferably organic, is ideal for this. The fat you choose to use may make or break your flakiness. Butter adds richness, but shortening will make it tender. Some recipes combine both for the best of both worlds.
Mixing the dough is a bit of an art. You are bound to either overwork it to such an extent that you have a hard crust, or underwork it so that layers will not develop evenly. What you want to do is to mix all ingredients until just combined and stop. In fact, some recipes request leaving small pea-sized lumps of butter in the dough, which melt into those flaky layers in the oven.
The dough now needs chilling before it can be rolled out. The concept in mind is to let the gluten relax, and that cannot be done with it hot; otherwise, melting fat would cause it too much to melt during oven heating, which leads to a crust that isn't that flaky. Chill, wrapped in plastic wrap or place your dough in a bowl inside a large plastic bag that has been sealed well.
Now, for the rolling out of the dough, be sure to dust your working surface as well as your rolling pin so the dough doesn't stick to either. Use a circular shape; your circle should at least be slightly larger than your pie pan. Now take your time a bit but don't forget that those layers of fat are essential for flaky goodness. In the event the dough becomes sticky again, give it a quick slide with your spatula and add a bit of extra flour underneath the dough, because at this point it is going to be quite sticky; therefore, a little more flour will be necessary at this time.
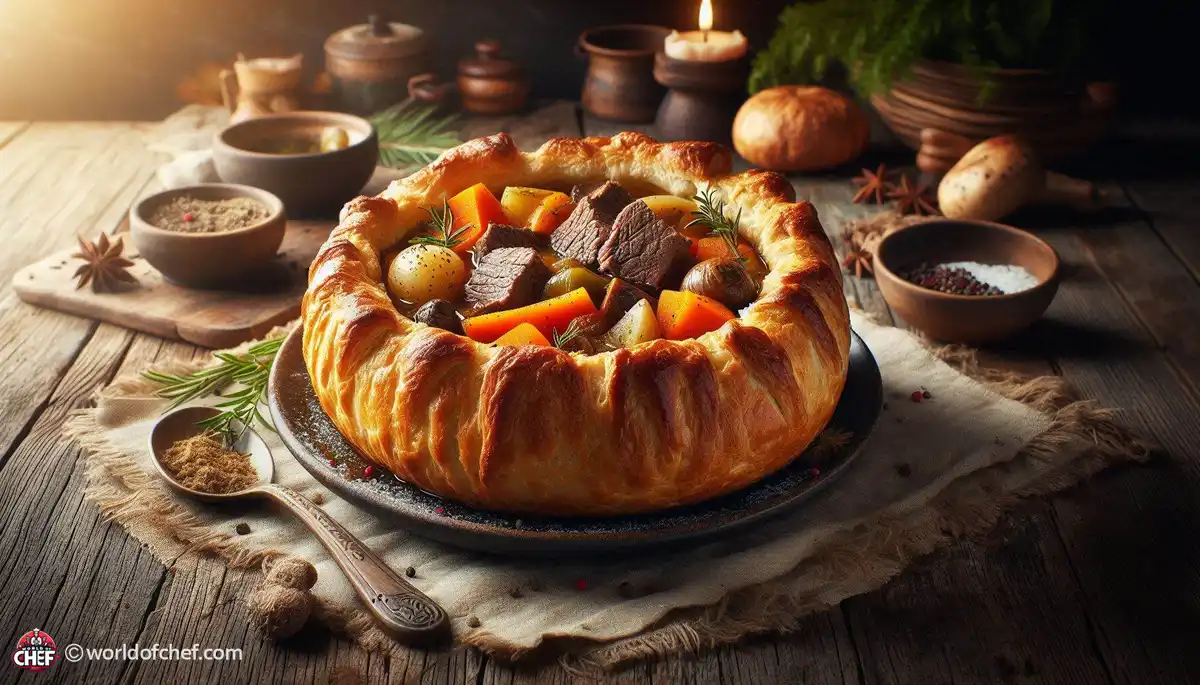
When your dough is rolled out, put it very gently in the pie dish. Gently push down with your fingers on the bottom and along the sides of the pie crust. The crust can break when it is pulled tight. Stretching causes a lot of shrinking of the crust in the baking. Take any hanging dough, make sure that you are folding half inch so that it crimp the fold well and become strong for you.
But do this before putting in your filling and on top crust: Give the bottom crust some extra tender loving care by docking it with a fork to allow air bubbles from forming as it bakes. When making a double-crust pie, brush an egg wash on the bottom crust prior to adding filling for a water barrier that won't let your crust get soggy.
You want to preface the pie before putting it in the oven. If it is a single-crust pie, you can crimp the edges or even make decorative vents on top of the crust. When you have a double-crust pie, be sure to cut some slits on the top crust for steam to come out when it's baking in the oven so that the filling won't bubble over and mess up your oven.
For an absolutely golden crust, your oven needs to be at the temperature called for in your recipe. If you fear the edges of your crust may get too dark, cover them with strips of aluminum foil or a pie shield. Bake your pie on the bottom rack of the oven so that the bottom crust cooks evenly and doesn't get soggy.
Every oven is different; therefore, you have to pay attention to how your pie is baking in the oven. You look for beautifully golden crust, and your filling is bubbling through vents. To see whether your pie is cooked or not, try sticking a sharp knife in one of those vents. If the filling has started bubbling and is golden brown on the edges, you are good to take that pie out. Allow it to cool down for at least 15 minutes before slicing and serving.
Nothing is as delicious as cutting into perfectly baked chicken pot pie with the flakiest crust, serving slices with your choice of vegetables or a crunchy green salad for a super-satisfying meal pleasing even the pickiest eater. And don't forget leftovers for a quick-and-easy meal the following day: chicken pot pie is always better the day after it's baked!
Alexander Kuhns - Oct 16, 2024 - 15 min read

Emery Donley - Oct 16, 2024 - 6 min read
Brad Damian - Oct 16, 2024 - 11 min read

Craig Ackley - Oct 15, 2024 - 6 min read