
Easy Slow Cooker Chili Recipes for Busy Weeknights
Alexander Kuhns - Oct 16, 2024 - 15 min read
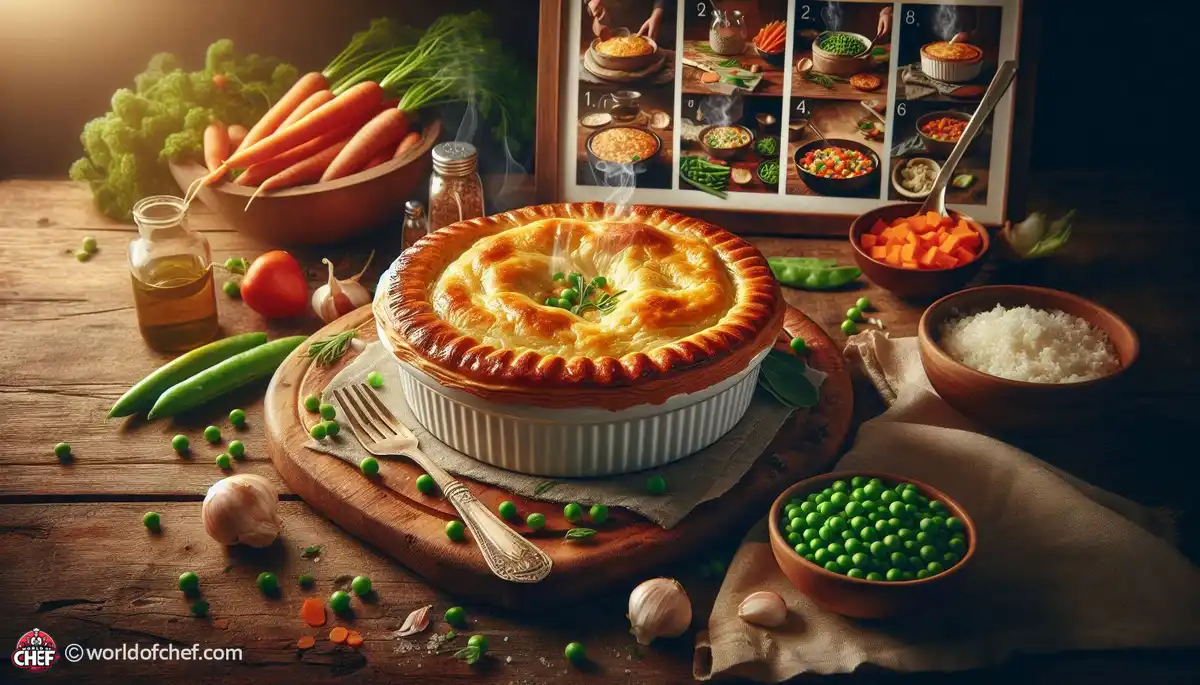
Living gluten-free can be more than just about diet; for many, living gluten-free is a condition of necessity, due either to gluten intolerance or perhaps celiac disease. To the rescue comes the gourmet world, offering an ocean of scrumptious goodness without losing flavor or feel. Chicken pot pie will always be one of our comfort foods that can become gluten-free easily. Now, substituting traditional flours with gluten-free variations, it can be brought to the table safely by everyone.
The selection of ingredients in gluten-free cooking is critical. You will first need to pick a flour mix that you can use in place of traditional wheat flour. Try to find flour mixes specifically made for baking or cooking. A good blend would have some rice flour, tapioca flour, and potato starch. Also, be aware of hidden sources of gluten, such as on frozen chicken broth or homemade pie crusts. Insist on reading the packages because they have to be without gluten.
The right kitchen tools make gluten-free cooking a thousand times easier. Good, quality rolling pins for making pie crusts and great pie dishes to bake can be a couple of items you will want to buy. Silicone pastry brushes may help you get that wonderful egg wash without worrying that your gluten-containing brush had contaminated the whole operation, and setting up good mixers, measuring cups and utensils strictly for use with gluten-free is essential to prevent cross-contamination.
It's not that easy to make a flaky, golden-brown pie crust without gluten, but with the right technique, it is possible. First, put your gluten-free flour mix in a food processor with cold butter or dairy-free alternative. Pulse until the mixture resembles coarse crumbs. Then add cold water gradually and continue pulsing until the dough comes together. Do not overmix as that may result in a tough crust.
When your dough has chilled in the fridge for a good long time, it is time to roll it out for your pie crust. Dust your work surface and rolling pin with gluten-free flour so it does not stick. Roll the dough out lightly into a circle large enough to cover your pie dish, sometimes lifting and rotating it as you go so that your dough is even. Place dough back into the refrigerator, to let it firm if the dough gets too soft or even sticky from sitting for so long.
Let the dough reach the perfect thickness; gently transfer to the pie dish and form a neat edge. Crumbling extra dough around cracks and holes. For a more traditional look, crimp the edges of the crust using your fingers or a fork. You will need to blind bake the crust so that it stays crisp and flaky before adding the filling. Line the crust with parchment paper and fill it with pie weights or dried beans to prevent it from shrinking while baking.
The secret of a great chicken pot pie lies in the quality of its ingredients. Use organic, free-range chicken as much as possible and the freshest vegetables. It is best to cut the vegetables into uniform pieces for even cooking and a pleasure to bite into. Classic pot pie vegetables include carrots, peas, and potatoes, but you can get creative with your favorite seasonal produce.
Add aromatic herbs and spices to your chicken pot Pie Filling. Fresh thyme, rosemary, and sage add a rustic, earthy flavor, while a pinch of nutmeg adds warmth and depth. Sauteing your vegetables in butter or olive oil before adding the chicken and liquid base helps develop rich flavors and caramelization. For added creaminess, stir in a splash of heavy cream or coconut milk towards the end of cooking.
The right filling for chicken pot pie must be thick and creamy yet not soupy at all. To make it, whisk gluten-free flour together with butter in a saucepan until smooth to create a roux, adding chicken broth or stock and whisking it well for the mixture to thicken. Let the filling cook until it slightly reduces as you combine it with your cooked chicken and vegetables. Season to taste. The flavors will deepen as the pie bakes.
Assembling your gluten-free chicken pot pie is when all the elements come together. Spoon the filling into the prepared pie crust, spreading it out evenly. You may add a layer of shredded cheese over the filling if you like for an extra richness. Then, gently place the second crust over the filling, sealing the edges with your fingers or a fork. Use a sharp knife to make several vents in the top crust for steam to escape during baking.
Before you put your pot pie into the oven, give it a final flourish with an egg wash. Brush the top crust with some beaten egg mixed with a little water or milk to give it a high-gloss, golden-brown finish. Sprinkle with flaky sea salt or sesame seeds for flavor and texture. Place the pie on a baking sheet as a precaution in case the filling drips, then put it in the already hot oven. Bake for about 25 minutes longer or until the crust darkens and the filling warms.
Let the gluten-free chicken pot pie set for a few minutes as you remove it from the oven before cutting it up for serving. When you take a taste, tender chicken, flavored vegetables, and buttered crust come alive in senses. You can serve your pot pie with a side of crisp green salad and steamed vegetables for all-roundedness. It can even be kept in the refrigerator up to several days and oven or microwave reheated later for a quick and rewarding meal anytime.
This is a guide that will allow you to cook the best gluten-free chicken pot pie that will astound even the most exacting palates. With a little patience and close attention, you will develop the skills of gluten-free cooking and enjoy the homey flavors of this tried-and-true classic. Gather your ingredients, roll up your sleeves, and get ready to savor every bite of this home-cooked masterpiece.
Alexander Kuhns - Oct 16, 2024 - 15 min read

Emery Donley - Oct 16, 2024 - 6 min read
Brad Damian - Oct 16, 2024 - 11 min read

Craig Ackley - Oct 15, 2024 - 6 min read