Simmering with Spices: Infusing Flavor into Your Dishes
Emery Donley - Oct 8, 2024 - 8 min read
Braising is the cooking technique by which the toughest cuts of meat and the heartiest vegetables are transformed into tender, mouthwatering delicacies. It's such a cooking method that has been loved throughout the centuries for its remarkable ability to coax out a rich flavor and create the most succulent textures, and if you're an amateur braiser or in need of refining your technique, you've come to the right place. In the following comprehensive guide, you'll learn everything you should know to get started with your braising journey.
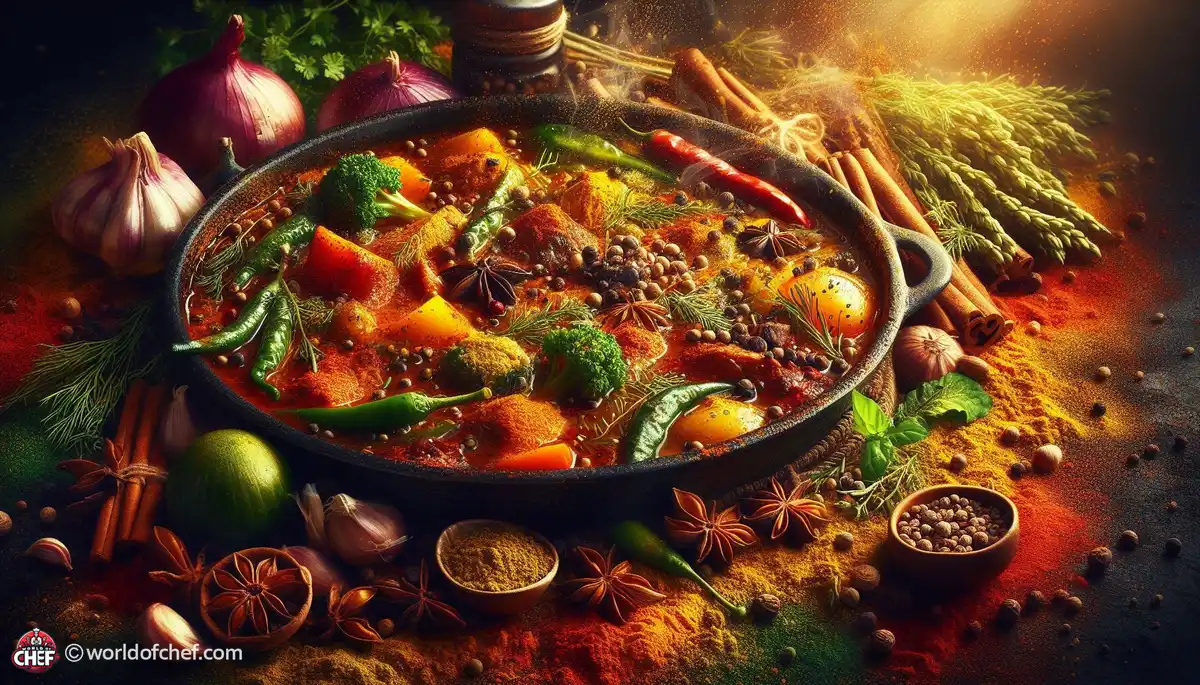
Braising is a cooking technique in which the food is browned with high heat and then cooked slowly under liquid at a lower temperature. With this soft, moist heat, tough connective tissues in meat break down into those delectably tender, melt-in-your mouth dishes. You can use liquid of every sort: broth and wine, tomatoes, aromatic vegetables-that add layers of flavour.
Braising magic lies in how it lets you work with cheap, tough pieces of meat and turns that into a luxurious meal. Cooking food slowly, over liquid, breaks down collagen-that tough protein in connective tissue-into gelatin, making the meat softer and juicier, while low-and-slow cooking allows flavors to meld into each other and thus creates depth.
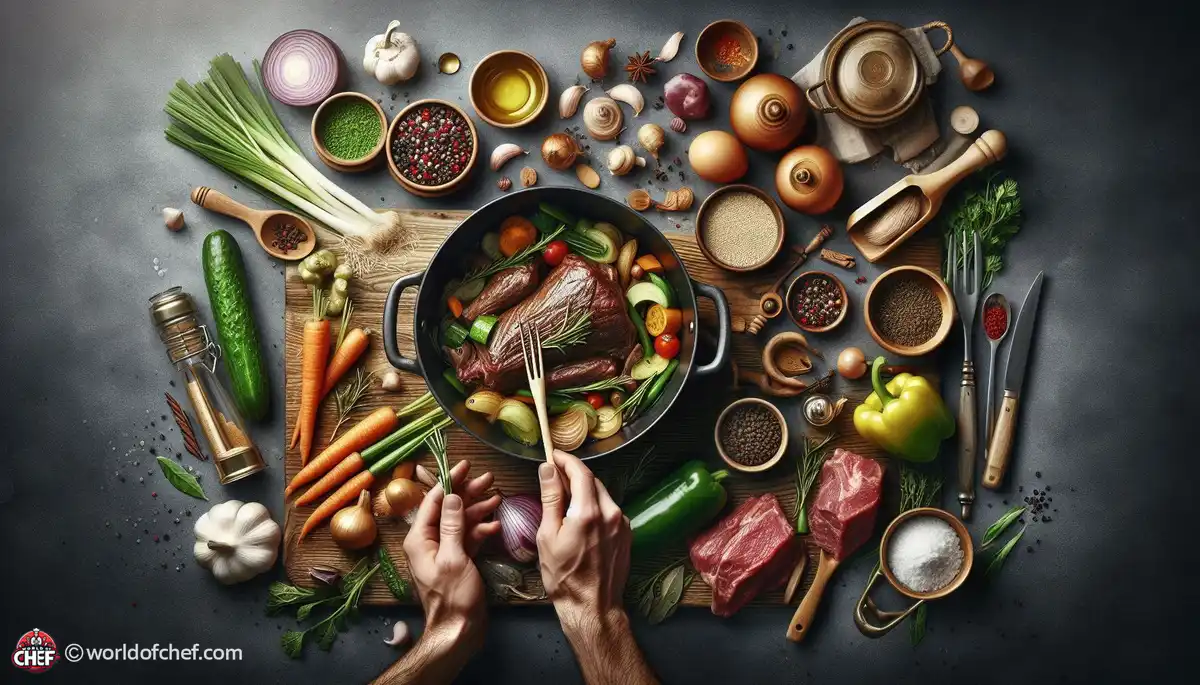
Start by getting yourself a Dutch oven or braising pan with a heavy bottom, which guarantees good heat distribution and retention. Such pots are designed to maintain a gentle temperature, ensuring tender, even results. In addition to a couple of good quality kitchen tongs to flip and turn all your ingredients, invest in a wooden spoon for stirring and mopping up flavorful browned bits.
None Braises don't forgive about cuts of meat. In choosing harder parts of connective tissue-based meat such as beef's chuck, pork's shoulder, and lamb shanks, there is no place for a wrong concept. However, braising fits such difficult pieces. When heated low and slowly, the said pieces soften and turn from tough to silky tender. Beef needs to be preferably marbled with good amounts of fats inside the meat because those add moisture as well as flavor.
While the tradition is to base the braised mixture on meat, never underestimate the effect of vegetables in this very same dish. Some ideal root vegetables are carrots, parsnips, and potatoes since they do not become mushy or soft when overcooked. Some aromatics added are onions, celery, and garlic to give a good flavor and complexity. Get creative with your veggie choices, like using seasonal produce and Flavor Combinations to make great new tastes.
The braising liquid will be the leading flavor in your dish. Use liquids that complement other elements of the dish: broth, wine, beer, tomato sauce, etc. These liquids provide moisture as well as layers of flavor; don't forget that the liquid does reduce during the simmering, so you should have enough to at least cover the ingredients without drowning them. Experiment with different liquids and flavor combinations to find your favorite braising concoctions.
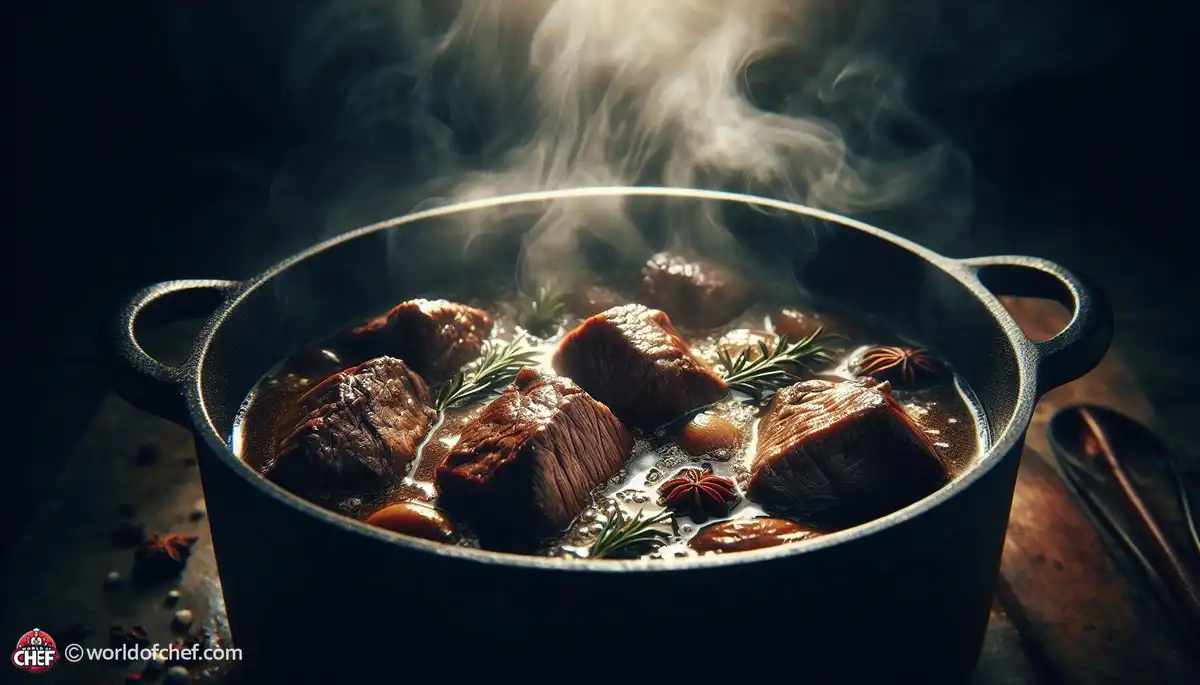
But before you braise, sear your meat and vegetables in a Dutch oven to get that deep, caramelized flavor. Put one tablespoon of oil on the bottom of your Dutch oven and heat it on medium-high until it's hot and shimmering. Pat the excess moisture off any meat with paper towels for an even sear, and salt and pepper the piece heavily. Add the meat to the hot pan and cook until it is well browned on all sides, about 3-4 minutes per side. Remove the meat from the pan and set it aside as you prepare the rest of your ingredients.
For a braised dish, aromatics are the building blocks of flavor. You should be using onions, carrots, and celery, but really, the point is for you to get creative with your selection. Some other ingredients add depth and richness to this dish: leeks and shallots enhance complexity, while thyme, rosemary, and bay leaves contribute aromatic flavor. Once you've taken your meat out of the pan, add all of your aromatics, cook down until softened and fragrant-stir occasionally to prevent burning. This flavor-rich mix will necessarily add dimensions to your braised dish.
Once your meat is seared and your aromatics sautéed, it's time to put it all together for the ultimate simmer. Return the cooked meat to the Dutch oven, nestling it into the aromatics. Add your liquid of choice so that it barely covers the meat, then bring the whole mixture to a gentle simmer. Place a tight-fitting lid atop the Dutch oven, then reduce the heat to low. Let it simmer slowly for the desired time; the flavors will blend, and the meat will be soft. Do not look too frequently because this will let precious heat out of your pot and force you to lengthen the cooking.
Let your braised dish rest before serving. Lift up the meat and vegetables with a slotted spoon to remove them from the pot into a serving platter. Loosely place aluminum foil over the surface, allowing it to relax for 10-15 minutes. This resting helps allow the juices to meld evenly throughout the meat in general, making the overall dish juicier as well as more flavorful for tasting. You can let these juices meld while arranging other side dishes or preparation for garnishes you're preparing to serve your completed braised masterpiece to thirsty customers.
Braising liquid is sometimes needed to be finished with a sauce for several braised dishes. Strain the braising liquid through a fine-mesh sieve and discard any solids. Return the liquid to the Dutch oven. Over medium heat cook until the sauce coats the back of a spoon, or has reduced slightly to your liking. Taste and adjust seasoning, then spoon the sauce over the meat and vegetables on your platter. Garnish at the table with some just-chopped fresh herbs, some citrus zest, or a final drizzle of good olive oil for a lift of flavor and elegance.
When pairing wine with braised recipes, you would opt for wines that complement this rich and deep food. Traditional pairings include Cabernet Sauvignon, Merlot, or Syrah for richer, full-bodied reds, but if you like white, a rich, oaky Chardonnay or a floral, aromatic Viognier are good options. The thing is to choose a wine that doesn't overpower the richness of the dish but really allows the food and wine to sing. Cheers!
Braising is a very ancient cooking method whereby dishes end up soft and full of flavors with less effort. It's braising beef short ribs for that cozy dinner in winter, or Simmering Chicken thighs with root vegetables to make a hearty meal. The mastery of braising a dish will elevate your cooking to a whole new level. Equipped with knowledge and skills from this guide, you are now ready to start your braising journey with confident, creative flair. Dust off the old Dutch oven, gather the ingredients, and get ready to braise your way to culinary greatness!
Emery Donley - Oct 8, 2024 - 8 min read
Russell Comeaux - Oct 8, 2024 - 8 min read
Walter Backus - Oct 7, 2024 - 8 min read
Samantha Thames - Oct 7, 2024 - 6 min read